Homemade Rabbet Plane
Background
Long story short, I'm moving again, and I'm not bringing my power tools with me. I'm making a few hand tools to replace the power tools I had. I ordered a rabbet plane to replace one of the functions of my router, but it won't be here for a few weeks. In the meantime, I can make one out of some scrap wood and a chisel.
All of the wood is a 1" x 2" piece of pine and a plank that was once going to go inside of nightstand drawer from Ikea.
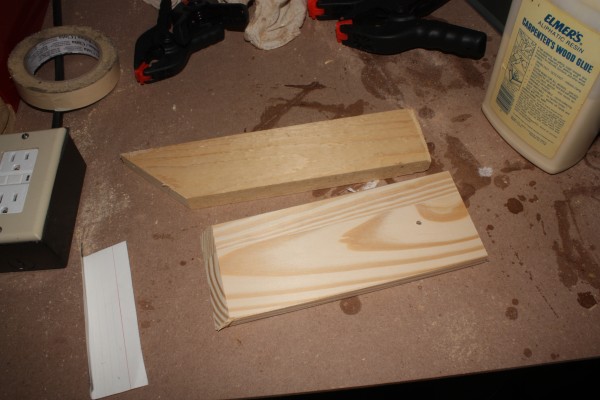
Building the Plane
Next, I measured the bevel angle of my chisel. It is 25 degrees. I read that a lot of rabbet planes are 45 degrees. I made my plane 45 degrees, thinking that would work better. I should have used the bevel angle of the chisel I was using.
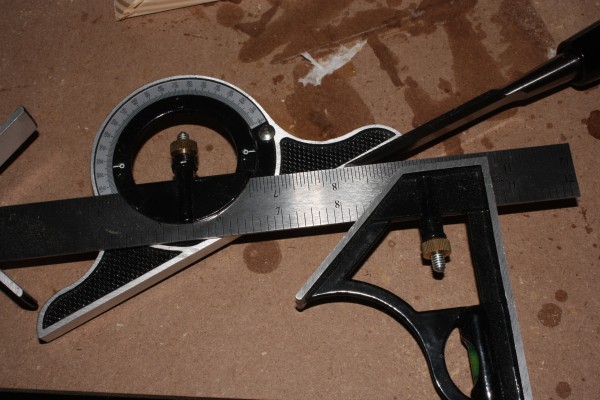
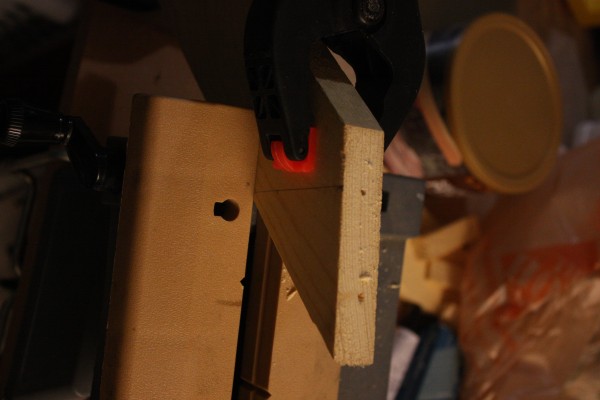
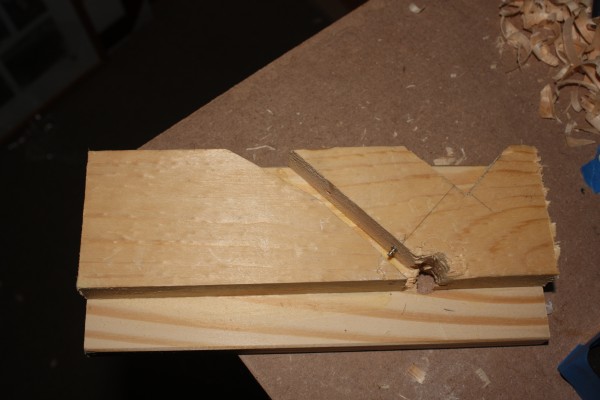
I cut the 1" x 2" at a 45 degree angle. Here is a mock-up so you can see what I was going for.
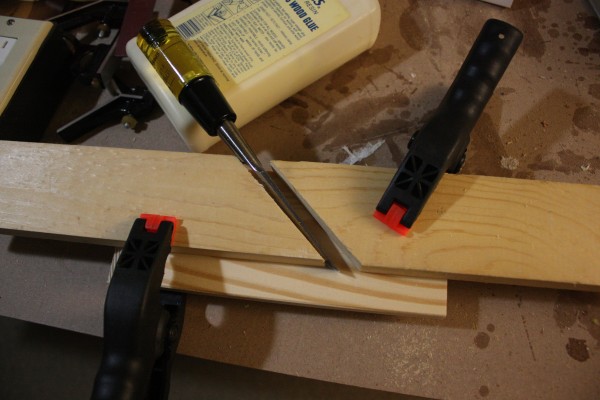
Because the chisel is wider at the top, I cut the area near the top of the chisel channel wider so the chisel could lay flat against the wood. I used a piece of scrap as a guide for my back saw.
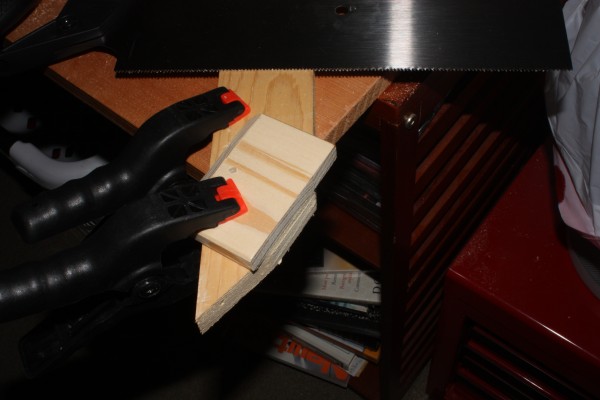
In the front piece of wood, I drilled a hole for the setscrew.
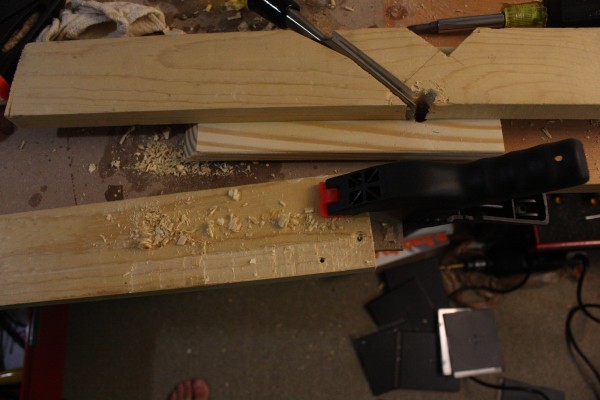
The screw I'm using isn't long enough to stick out the top of the wood. So, I started chiseling out a channel for the setscrew.
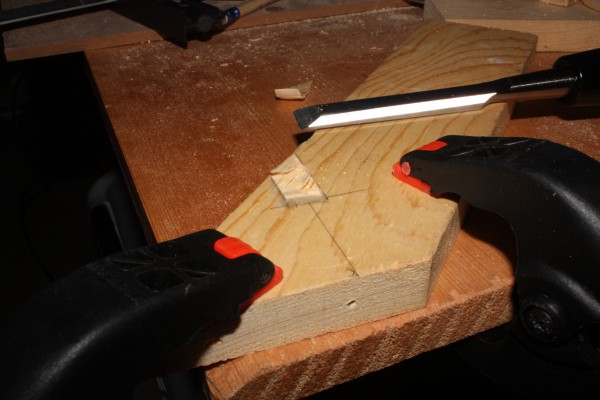
After a lot of chiseling, it turned out that my setscrew hole wasn't as straight as I had hoped. At this point, I gave up and just cut the whole area out.
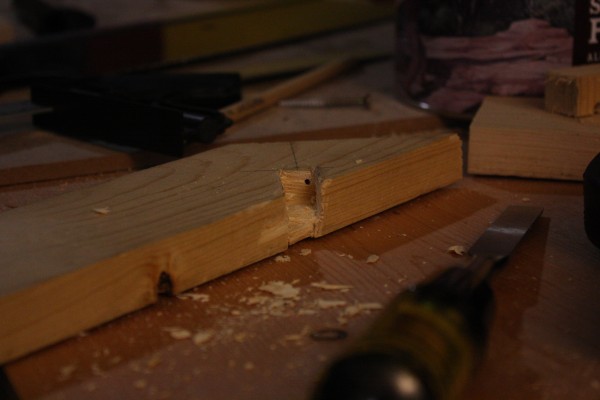
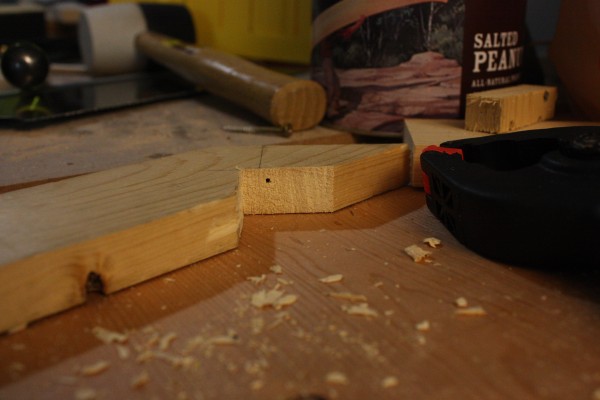
Then, I put in the setscrew.
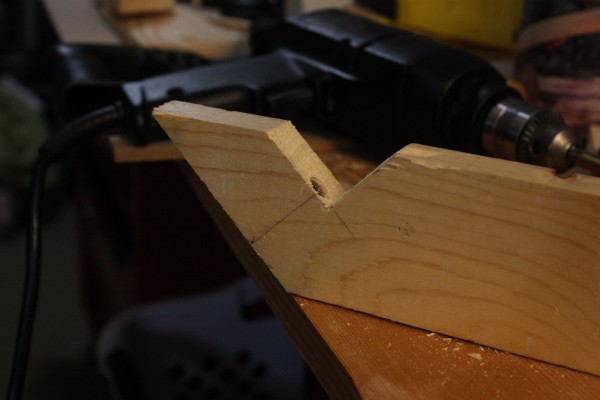
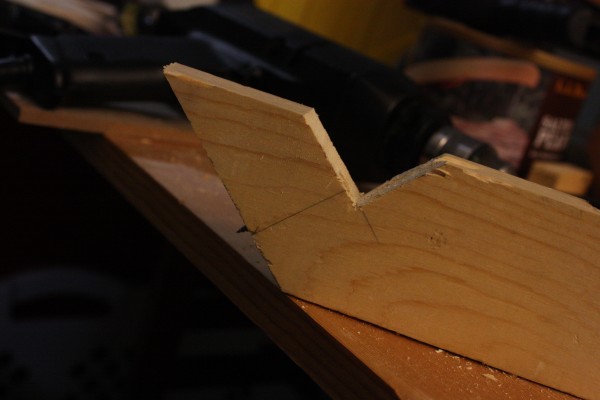
After all that was done, I removed the setscrew to grind the point off. I didn't want it to cut into my chisel. In the meantime, I glued everything together.
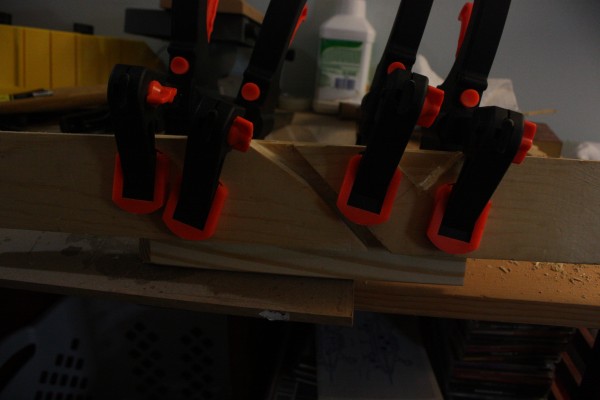
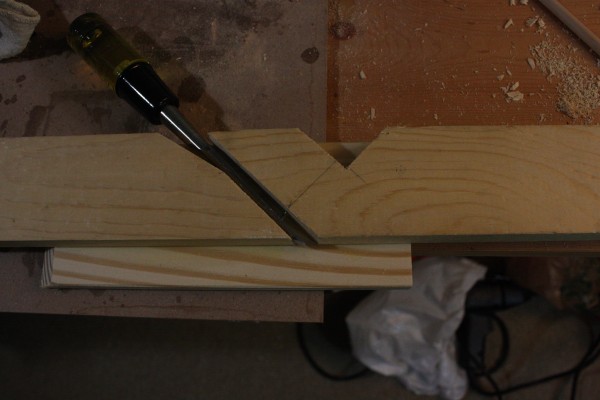
Completion
I tested the plane. It works! (kinda)
After only a few hours, I was able to keep working while my real rabbet plane was in transit.
Next Time
Things I would change if I did this again:
- Angle the plane at the same angle of the chisel.
- Don't bother chiseling out a channel for a setscrew.
