Restoring a China Cabinet
Before we moved, my girlfriend and I inherited a China cabinet. Her great-grandmother used to own it. The cabinet is over 100 years old. It's made of sturdy, solid wood. It has deteriorated slightly over time, but it was worth restoring.
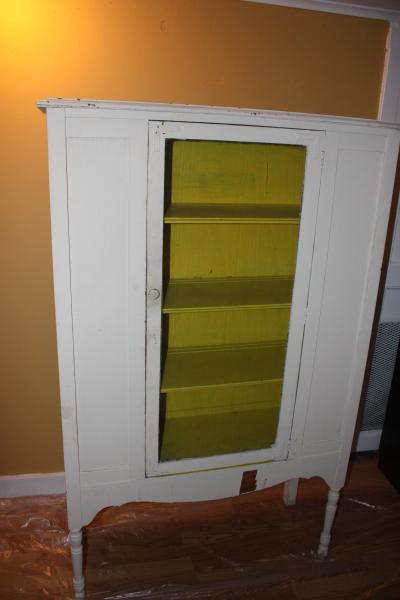
There weren't any structural problems with the carcase, which made this project relatively easy. Our plan was to strip whatever paint we could, repaint it, and rebuild the door.
The Easy Stuff
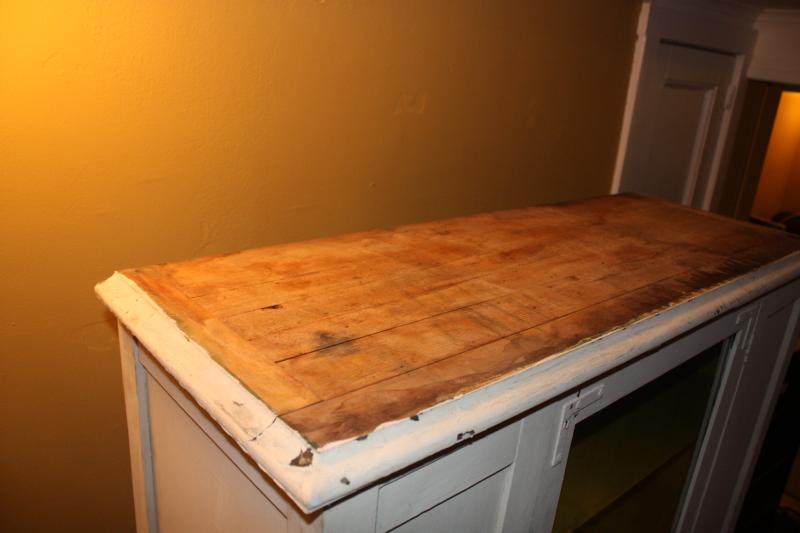
The top of the cabinet had no paint. Slight pits and cracks were easily filled with wood glue. They were small enough that wood filler wasn't needed. The veneer running along the underside of the top's overhang was sagging a little, but some glue and squeeze clamps easily fixed that.
About The Door
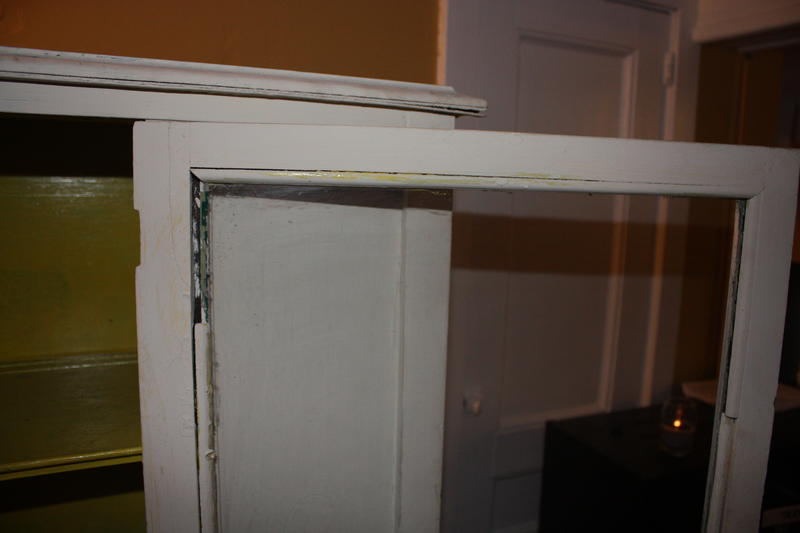
While my girlfriend repainted, I was going to rebuild the door. I had recently given up power tools (except a drill) for reasons that are too long to write here. This was going to be the first serious project I would complete using nothing but hand tools.
The door was a pane of glass inside a frame. The frame was four rabbeted, butt-jointed sticks. The glass was held in with four mitered pieces of molding glued to the frame.
The molding was not in good shape. It was fractured, loose, and pieces were missing. The glass was not held in place well. It shook whenever the door was moved. The door did not fit well in the carcase, so it had to be shoved hard to open and close it, causing the glass to vibrate and make a lot of sound. We were afraid it would eventually shatter.
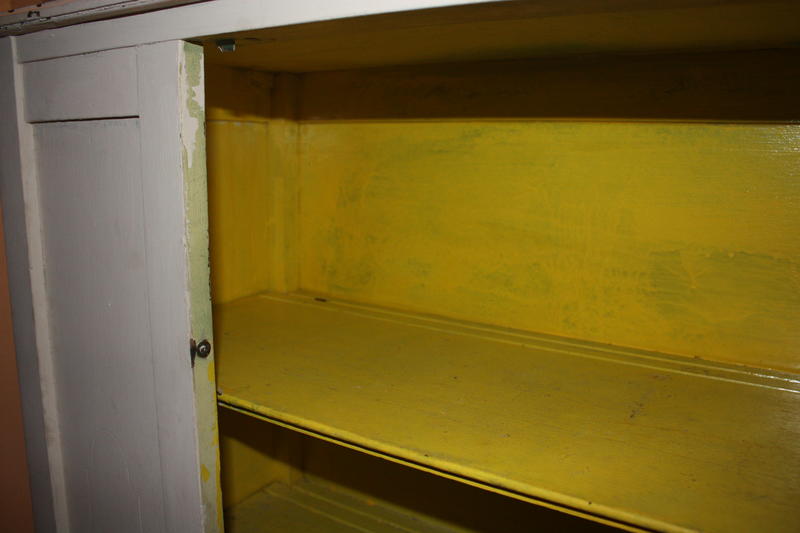
Part of the reason the door fit so tightly was because of its latching mechanism. A spring-loaded steel ball was embedded in the carcase, and a cupped steel plate was embedded in the door. There was a small steel angle bracket at the top and bottom of the door opening to prevent the door from being pushed in too far when closed.
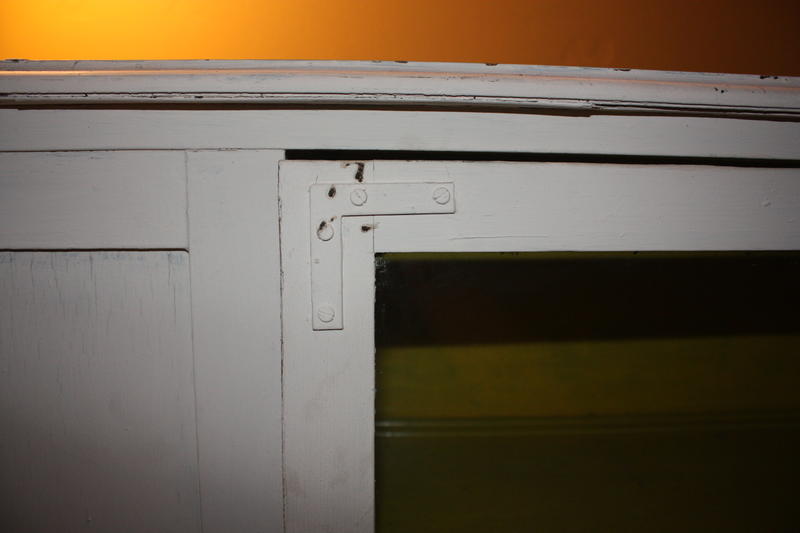
The door sagged. This was due to its age and construction. My girlfriend mentioned that her grandfather had tried to fix the sag at one point. L-brackets were screwed onto the front face of each corner of the door. The door still sagged to the point where the door wouldn't close without holding up one side of the door to skew it back into place.
Restoration Plan
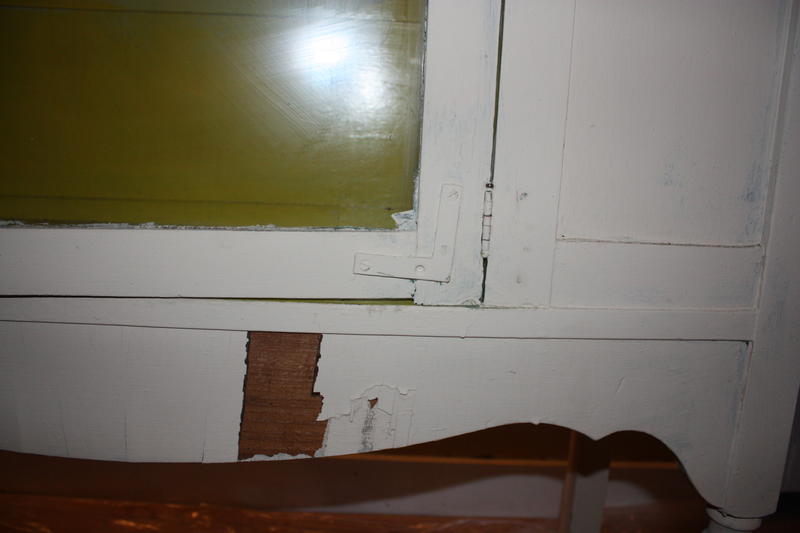
The plan was to keep as much of the original cabinet as possible.
The bottom veneer was chipped and cracked. Rather than replace it, the plan was to scrape off the remains and paint it. The rest of the cabinet had to be sanded to remove the paint. The coarsest sheets of sandpaper we could find were 60 grit.
I would build a sturdier door using mitered joints, possibly with splines.The latching mechanism would be changed to either a magnetic latch or a hook and eyelet. The door frame would be slightly smaller to make opening and closing the door easier. The original hinges and glass were to used in the new door. Rather than using molding to hold in the glass, an internal groove would be cut instead.
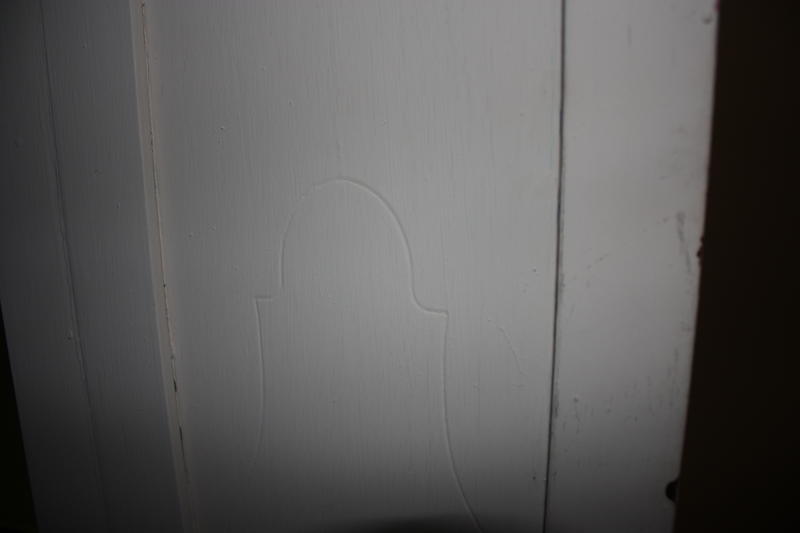
As a side note, this is not the first time this cabinet was restored. There are grooves etched into the panels on the front of the cabinet that suggest there were once painted designs or other hardware, maybe brass plates or small mirrors. We weren't sure what to do with these yet.
