Incense Tower - Design
Drilling the Design

First, I finished mitering the edges of all four boards and sanded everything smooth.

I had originally intended to make two designs and alternate them around the tower. After not being happy with most of my sketches, I opted for one design, alternating which side was pointed toward the top.
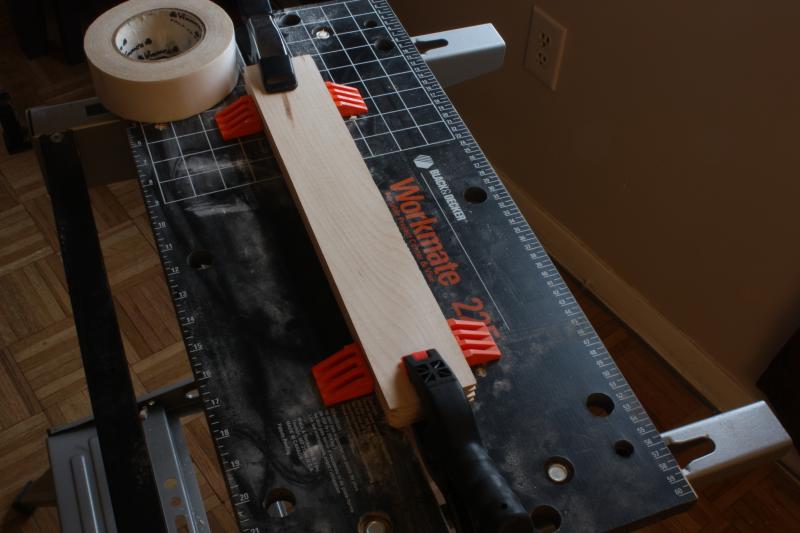
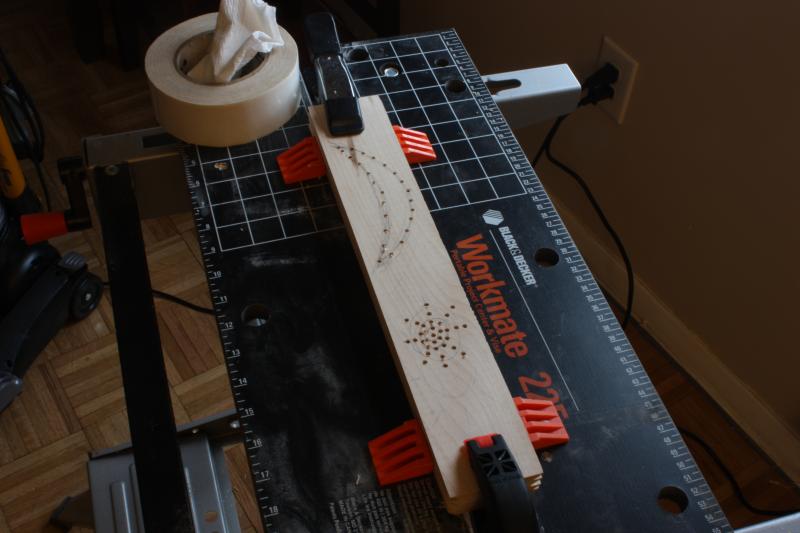
To ensure the design was as identical as possible on all four boards, I stacked them using two-sided tape and clamps.

I tried to drill a series of holes to look like the sun and moon. The boards weren't wide enough to make the sun large with rays coming from it, so I went with a solid-ball type of sun.
I'm pretty happy with the way the moon came out.

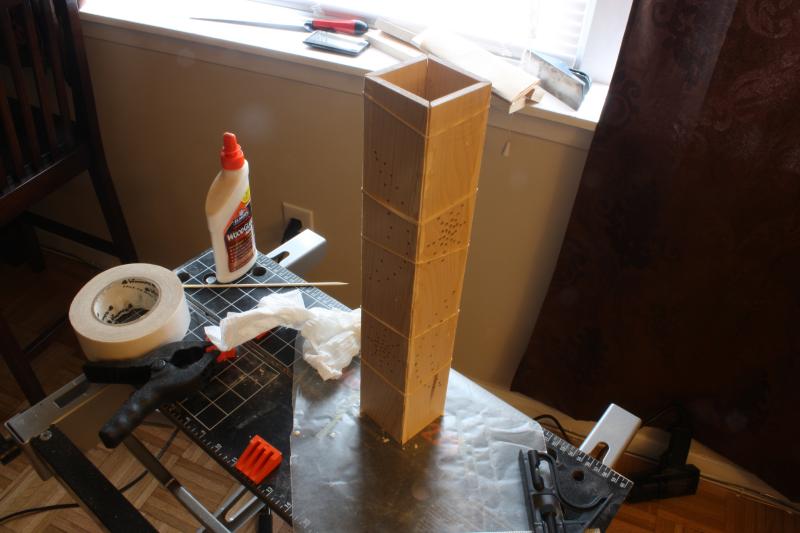
Then, it was time to glue everything. I wish I had saved some sawdust to fill in the seams. I know I need to improve my planing skills, but I'm also putting part of the blame on the plane.
I bought a new plane after this project, so now I'll only be able to blame myself.
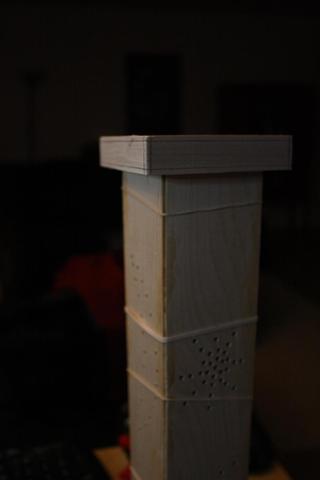
To glue the tower, I used the most versatile clamps I have for a project this size: rubber bands.

I also planned to chamfer the top and bottom of the tower. Here's a dramatic shot of the marked-up top. I planned to use a 1/8-inch chamfer. Any less seemed to be a waste of time, and any more made the side faces too thin.
Continued in part 4...
