Wooden Cupcake Box - Glue Up
Cutting out the Final Pieces
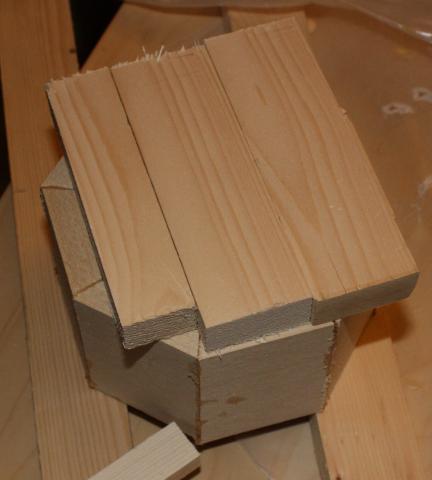
After spending some time looking up how well basswood stains, I found out that it doesn't stain well at all. Most of the time, basswood is painted.
Because I was stuck in the apartment, I wasn't able to get wood sealer, anyway. This was pretty much my only shot at getting this project done in time, so I didn't want to experiment with making my own sealer, either.
I had paint, so I grabbed some leftover sticks of pine to make the bottom and top of the box.
After sawing a stick into pieces to make the bottom, I ripped one piece in half. This meant that when it was time to shape the bottom, the whole piece would fit in my miter box so I could keep the edges straight.
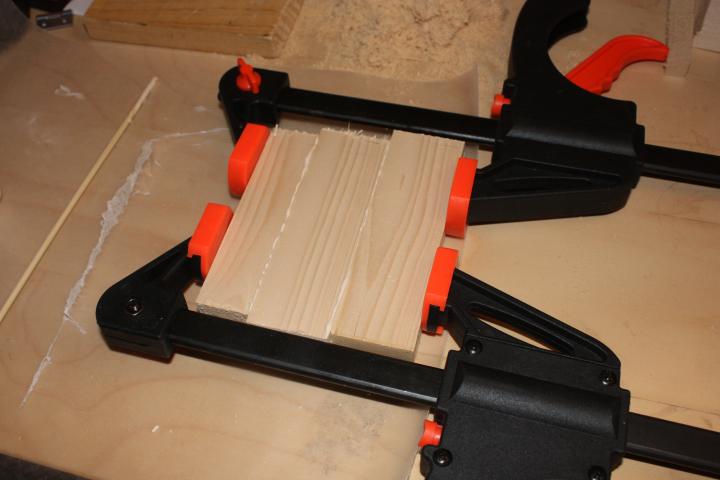
I glued up the bottom. While that dried, I started to make the top.
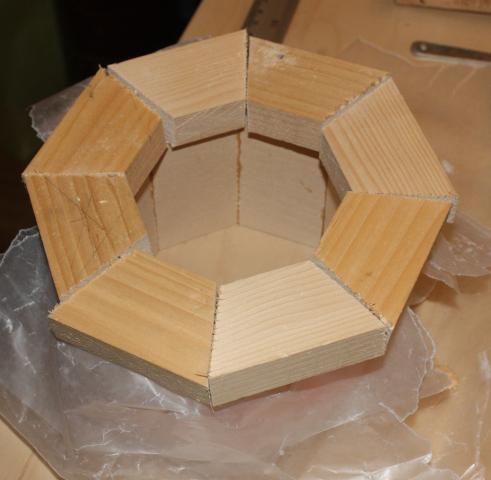
I made the top in three layers. Setting up a stop block let me cut these out pretty quickly.
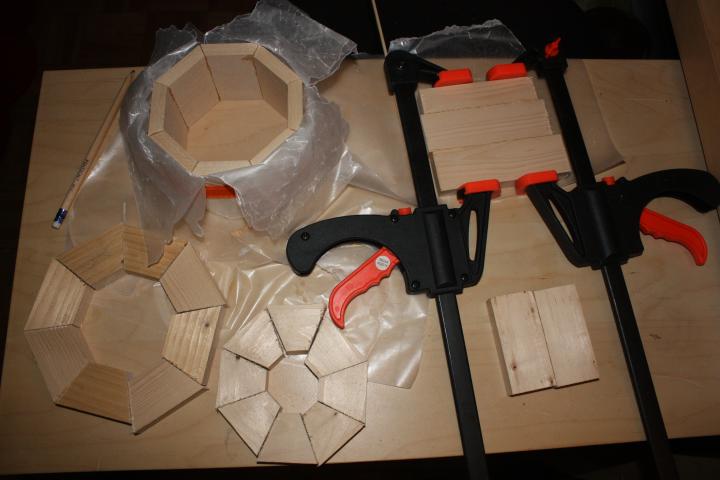
Except for the shaping of the very top and bottom, all the pieces were now cut. The two small pieces in the lower-right corner of the picture are the top layer of the cupcake.
Shaping the Bottom
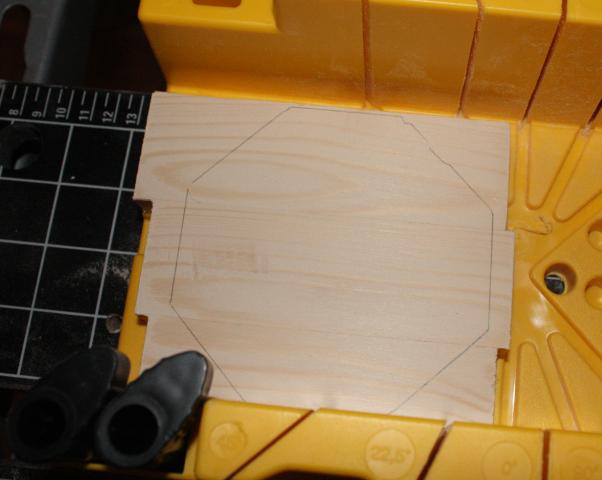
I put the sides of the box on top of the now-dried base and traced inside the opening. It's not shown, but I made a mark on the edge of the bottom and inside the side of the box to help me keep the orientation because this isn't a perfect octagon.
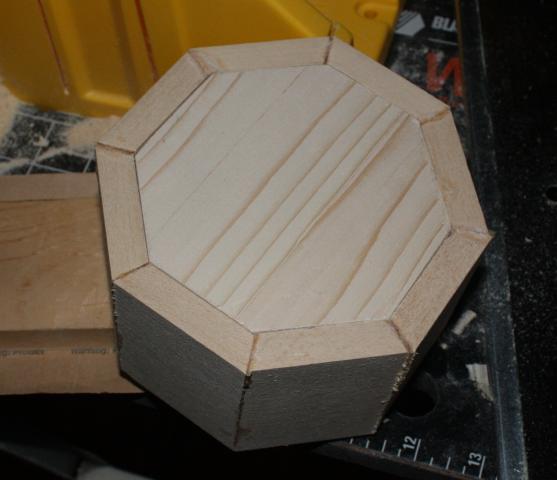
With a lot of pencil marks and sanding, I eventually got the bottom to fit. I applied glue, completing the base of the box.
Creating the Top
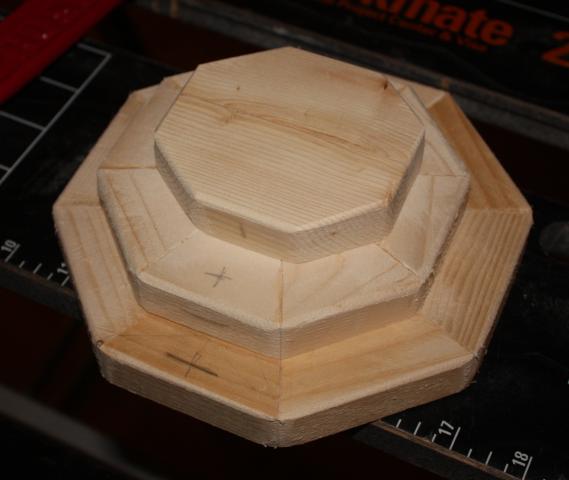
After cutting the top to size and gluing the octagons with my band clamp, I rounded the edges off. The pencil lines are for orientation. I tried to line up each edge with the edges above or below it.
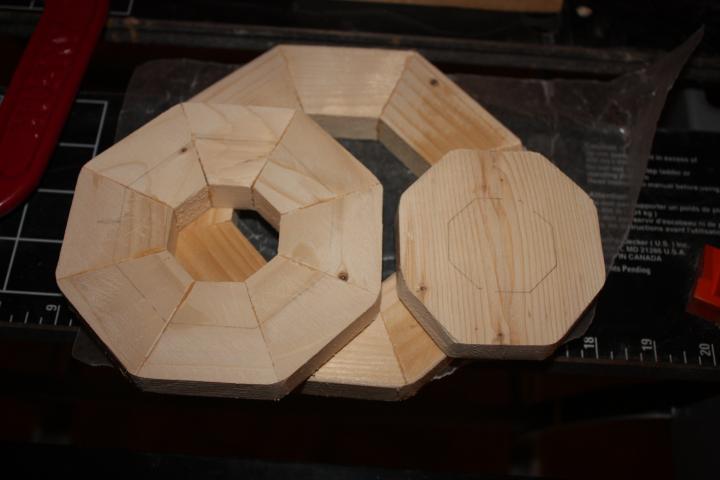
I flipped the top over and traced the insides with a pencil. This let me apply glue without having to worry if I was putting glue on an exposed area. This minimized sanding later.
I had about a 3/4 inch border on each piece to put the glue.
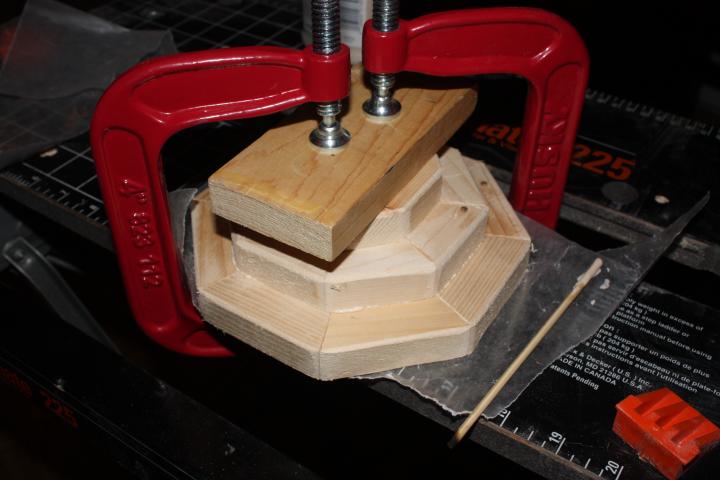
I clamped the whole assembly against my Workmate using a piece of scrap wood to prevent marring the top.
Once everything was dry, it was time to install the hinge. Continued in part 4...
