Wooden Cupcake Box - Hardware and Paint
The Hinge
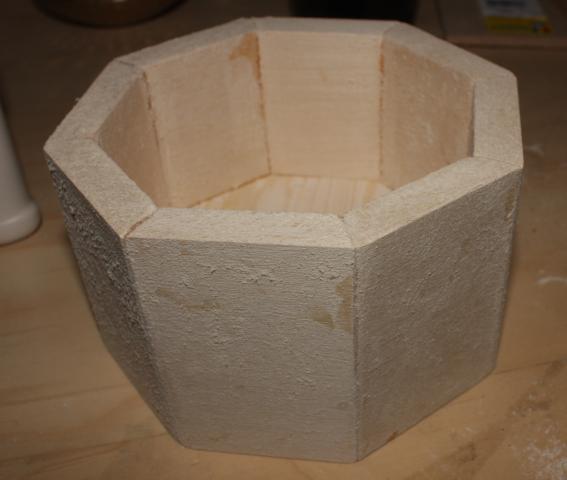
I rounded the edges of the base of the box. Then, I was able to finally put the sandpaper away.
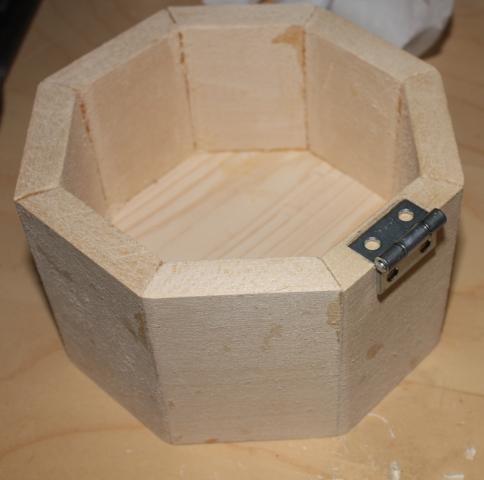
I chiseled out a space for the hinge.
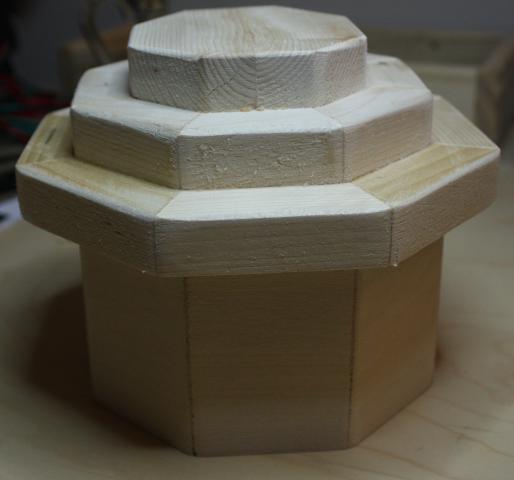
Then, I chiselled a space in the lid for the hinge. This is a test fit.
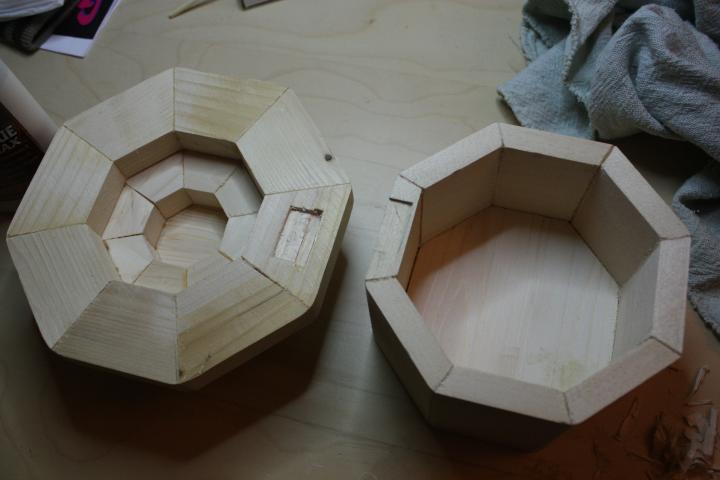
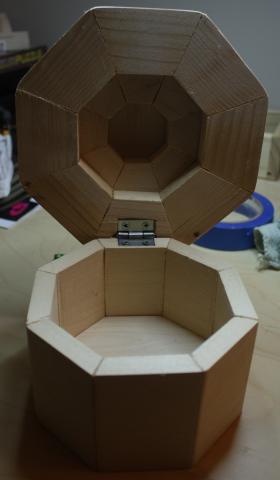
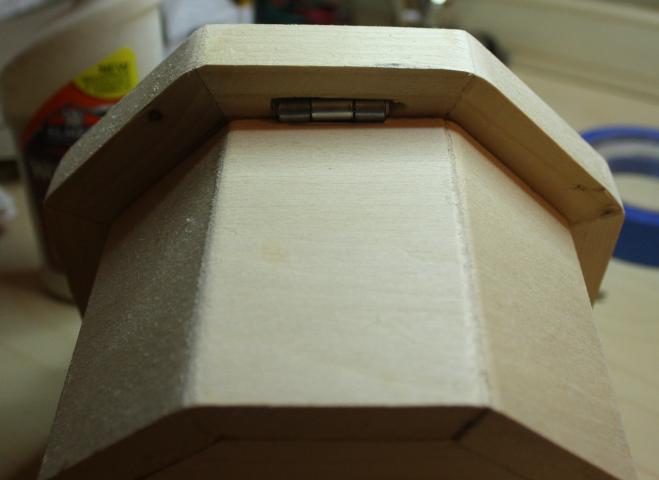
I like how invisible the hinge ended up becoming. Also, the box lid naturally stops at just past a 90° angle.
Painting
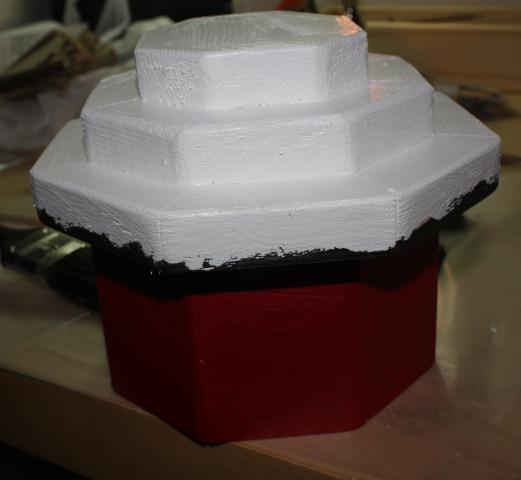
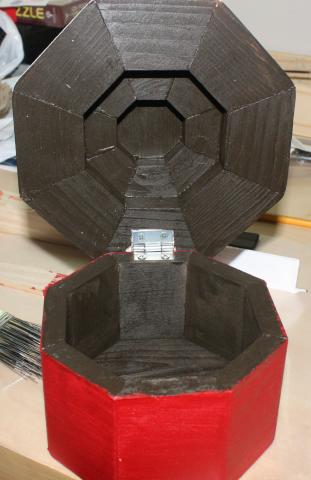
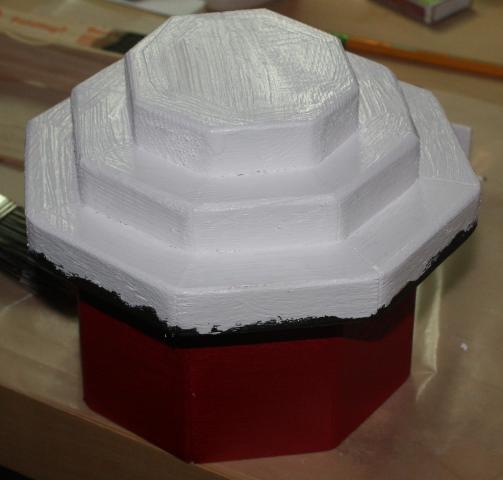
I painted the cupcake box to look like a chocolate cupcake with vanilla frosting in red paper. I thought the chocolate cake color on the inside helps highlight the shiny ring that would be placed inside it.
Ring Cushion
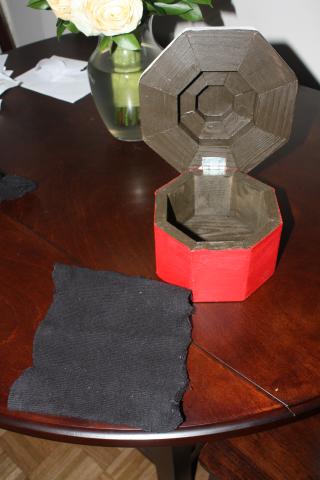
I had a lot of ideas for the ring cushion. I thought of using some stiff, black ESD foam or a floral block from a craft store. Ultimately, I filled the box with rice, cut a section from a black sock, and tucked the sock over the rice.
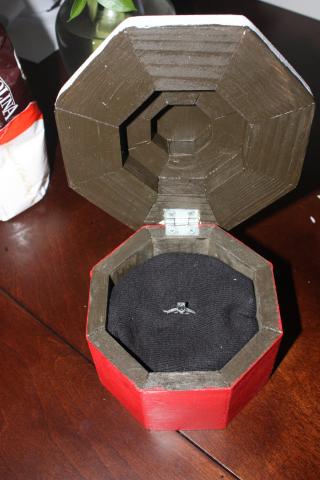
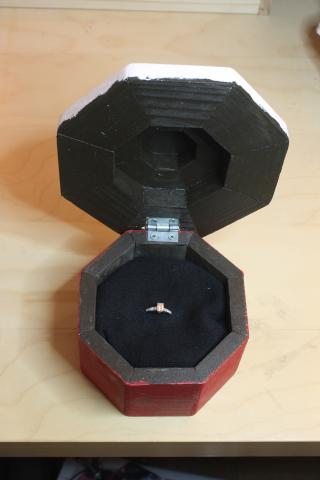
After cutting a small slit for the ring, I inserted the ring, closed the lid, boxed and wrapped it, and waited for Christmas.
Time and Cost
From start to finish, this took about 12 hours to build complete by hand, 8 of which were in one night. Most of the time was spent either waiting for glue/paint to dry or setting up and cleaning up so my now-fiancée didn't notice. It was a simple, rewarding project that now sits in the center of our China cabinet.
The wood costs about $7, but if made completely out of pine it would cost closer to $3. The hinge was $1. I already had the paint and glue.
On the other hand, if you factor in the cost of ring, this was the most expensive project I have ever made in my life, and it will take a long time if I ever beat that personal record.
