Book Stand
Every student knows that textbooks heavy and awkward. Mom has been going back to school, and studying from textbooks is irritating her. She mentioned she wanted a book stand, so I made her one for Mother's Day.

Design
After looking through a few examples of book stands, I thought of the requirements for a textbook. Most book stands are made for novels. I needed something sturdier, like a cookbook holder, but stronger and larger. Using my old physics textbook as a guide (8.5in x 11in x 3in, 5.5lbs), I decided on these design points:
=Tongue and groove shelf=With some textbooks weighing more than bowling balls, the shelf holding the book needs a strong mechanical joint, not just glue.=Adjustable page holders=Some textbooks are gigantic, like science texts. Some books are small, like novel for literature class. The stand should be able to hold both open.=Solid page holders=Flexible page holders, like wire, can be difficult to use and could wear out. Also, there is some guesswork involved: they need to be strong enough to hold the page, but they can't be so strong that they are inconvenient to bend. Ultimately, something simple like a peg or a bar would be best.=Stationary legs=I toyed with the idea of hinged legs. While being able to fold the stand flat would be nice when wrapping the gift, they would ultimately make the stand weaker. They might also introduce wobble over time. Finally, if the leg is hit, it might fold in and cause the stand and its weighty load to collapse, and I know that this stand is destined to sit on a glass (read: fragile) desk.=Flat base=The legs should have a relatively large area on the bottom, not an edge or point. This is to prevent scratching the glass desk.=At least 9 inches of "height"=I want the book's center of gravity to be resting on the stand to prevent any tipping or balance problems. So, the width of the chosen board should be at least 9 inches wide plus the margin at the bottom for the shelf. This will accommodate books up to 18 inches tall.=At least 16 inches wide=16 inches should be wide enough to accommodate most textbooks. This isn't strictly necessary, but it prevents having to slide the book left and right to keep it balanced. Some stands I saw basically only support the spine of the book. A large book may fall if not balanced properly on such a narrow base.=Open ends=The shelf shouldn't have anything above it on its sides. This is to accommodate books that open to a span larger than the width of the stand. This requirement rules out cookbook stands that use a horizontal bar to hold the pages open.
Materials
I wanted to use a hardwood, so I decided on oak because I like the way it looks. My parents' house has a lot of varnished wood, so it would match the aesthetic as well.
- 1x 4ft length of 1 x 10 oak
- 1x 2ft length of 1 x 3 oak
- 1x 3ft length of 1/4in oak dowel
Some of this was left over for future projects.
Build
The Shelf Groove
After cutting a 16-inch length off the 1x10, I started with the groove. I went all the way to the end to show off the joinery.
I don't have a plow plane (yet), so I cut the groove using my backsaw and a chisel.
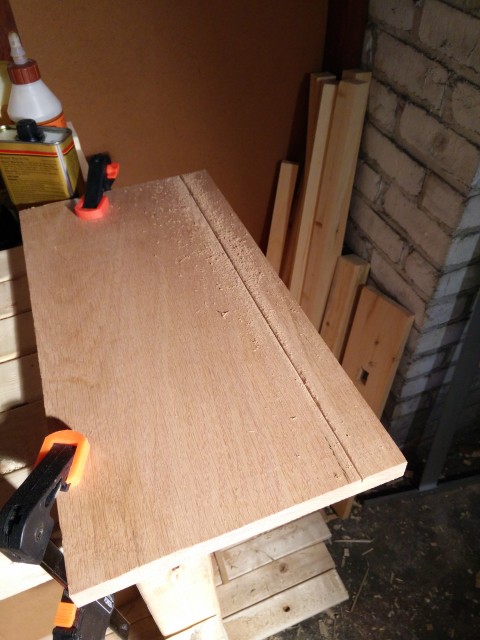
My backsaw determined the depth of the groove for me. At 1/4-inch deep, the handle started impeding my progress.
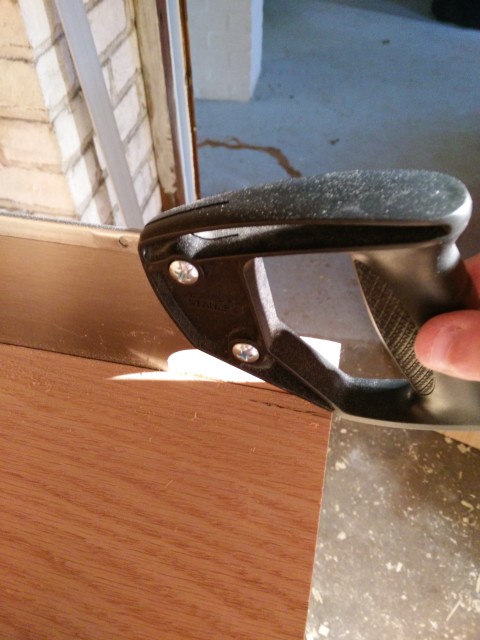
I cut the other side of the groove in the same fashion.
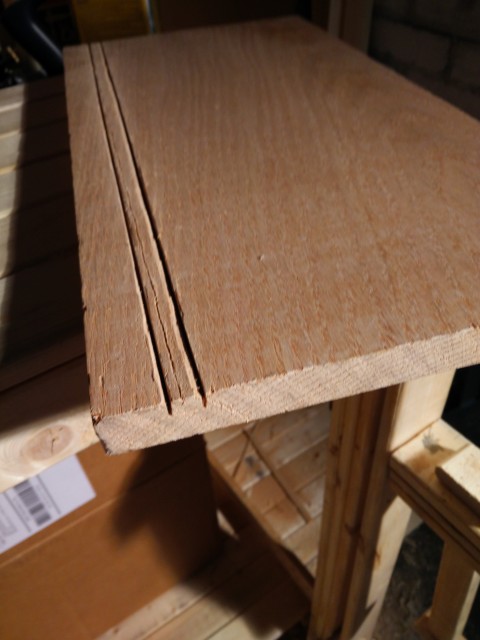
I trimmed the edges of the waste with a chisel.
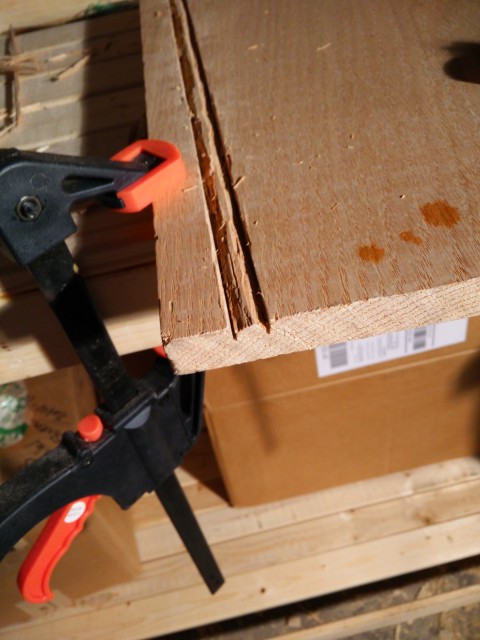
I used the same 1/2-inch chisel to remove the rest of the waste.
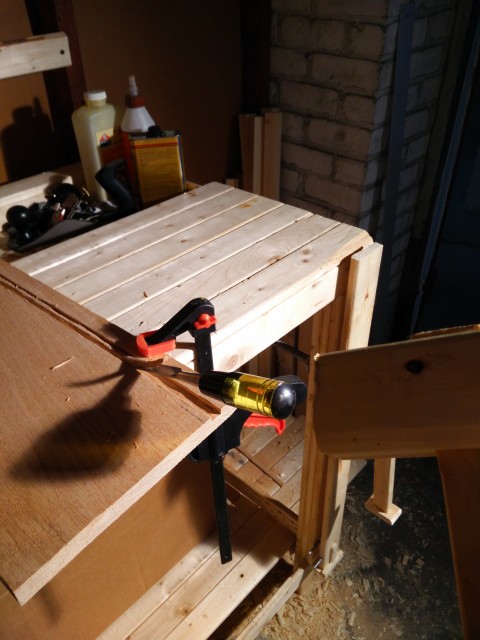
After a few passes with the chisel, I had a 1/2-inch wide by 1/4-inch deep groove.
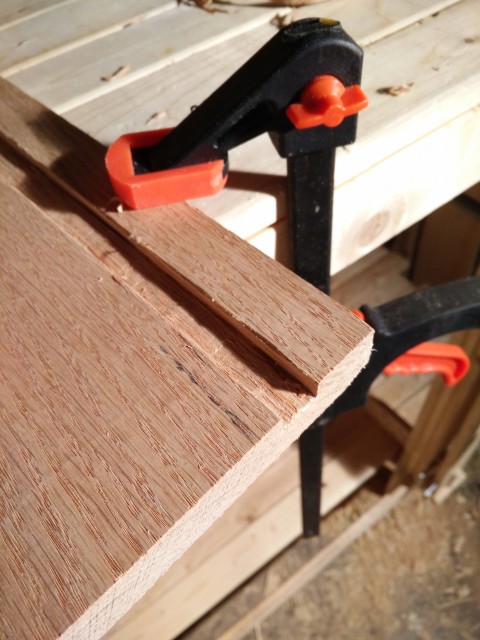
The Shelf Tongue
Using a Stanley 12-978 rabbet plane, I created two rabbets on either side of the 1 x 3, forming a wide tongue.
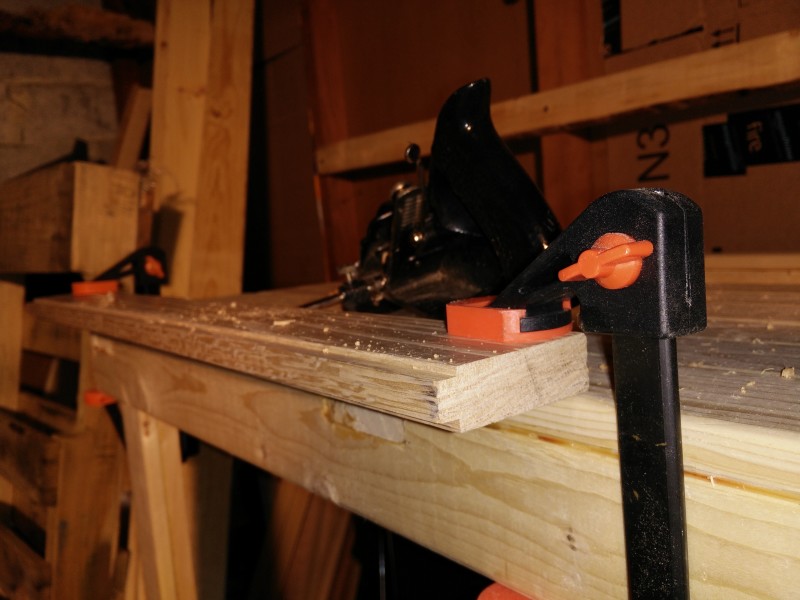
After a few test fits, I had a completed joint.
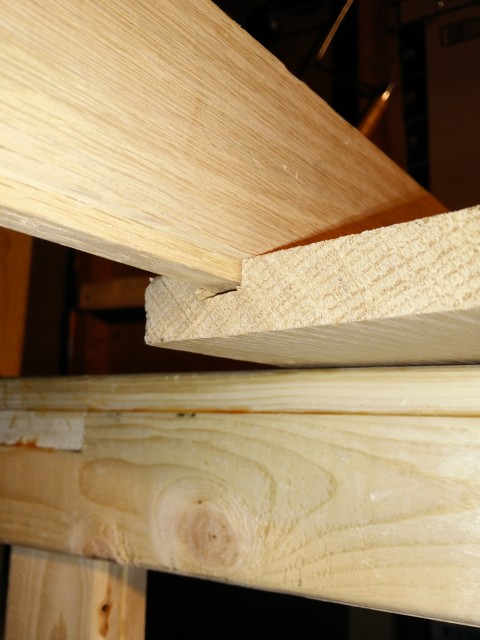
Then, I cut the 1 x 3 to length and set it aside.
The Legs
While butting up the end of the rest of the 1 x 10 and cutting would be the easiest method of creating legs, end grain doesn't glue very strongly. Instead, I would glue the edge of the leg to the rest of the body. While this does cause the end grain to be visible, the joint is much stronger. The exposed end grain isn't too much of a problem because it would be behind the textbook, anyway.
First, I measured up the board by the height of the body, plus a little extra to give myself room to plane it flush later. Then, I chiselled out a small V-groove to hold the saw steady.
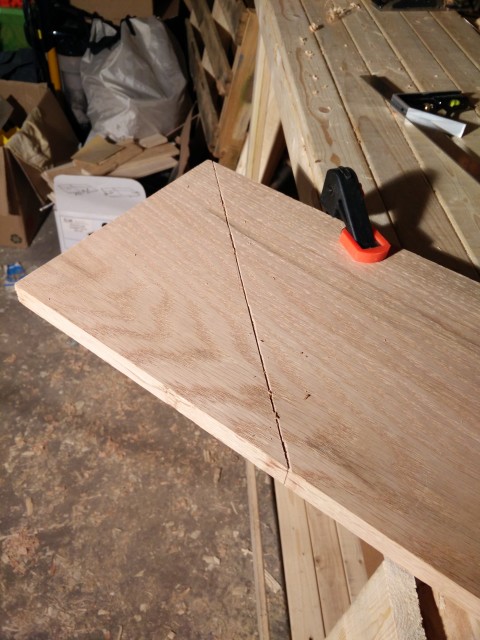
Cutting across ~14-inched (10 x √2) of solid oak was a lot of work.
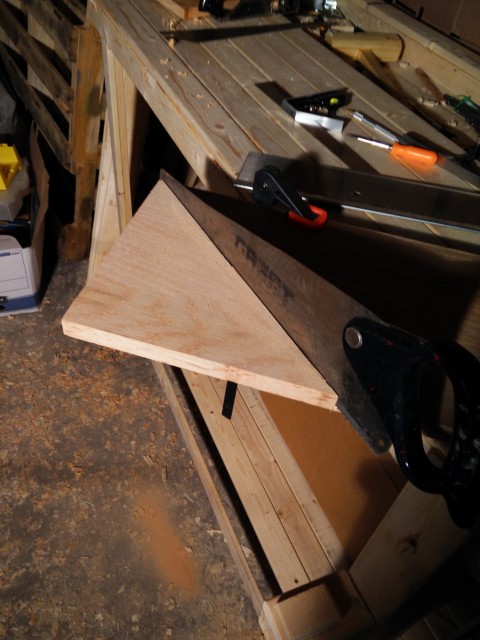
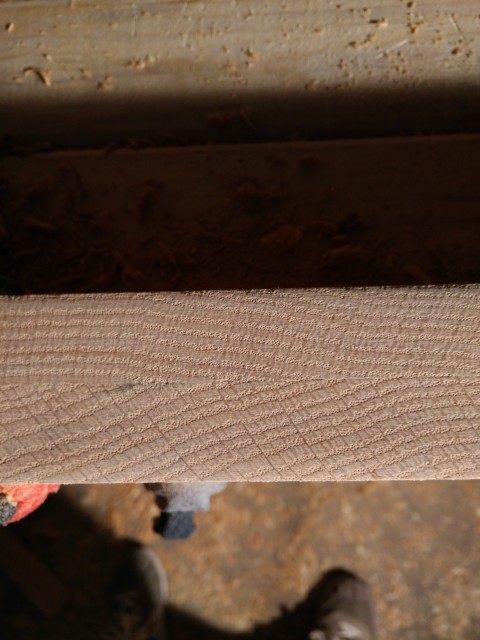
The grain looked a little like a corder beef sandwich.

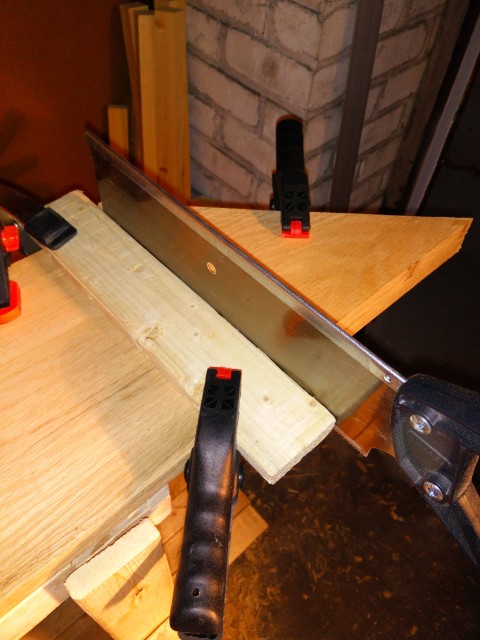
I clamped the first leg on the remaining wood, then place my saw next to it. Finally, I clamped a piece of pine 1 x 3 on the other side of the saw. This made a makeshift miter block that helped me cut an identical duplicate of the first leg.
I clamped the legs together so two sides were flush, keeping the grain running in the same direction.
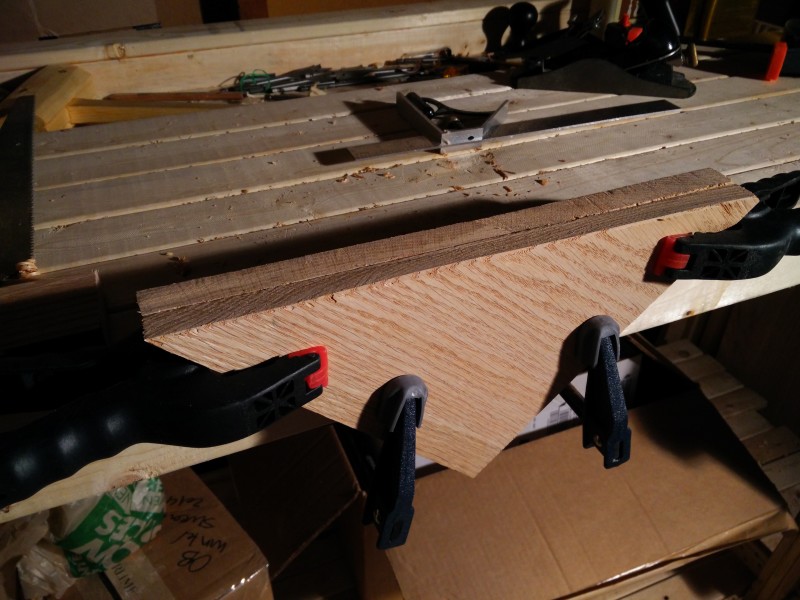
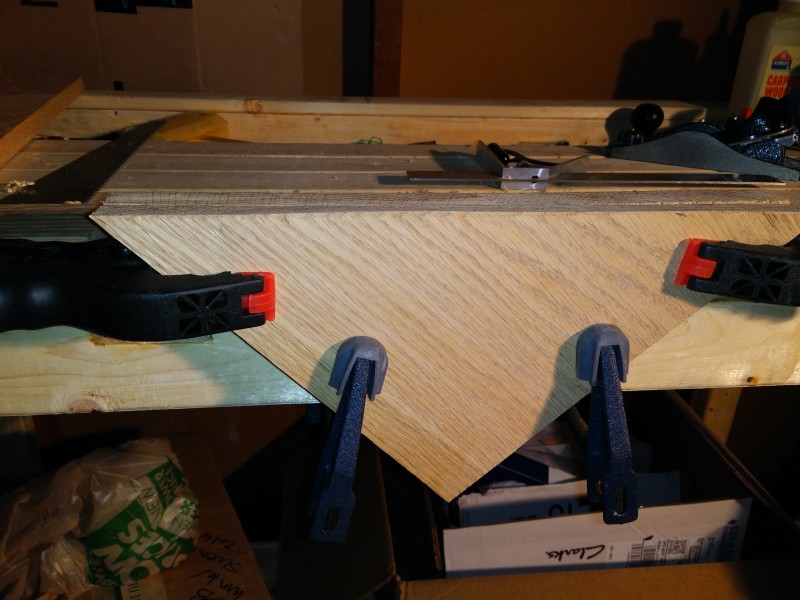
Then, I planed the long edges flush to ensure the bottom of legs would be perfectly flat.
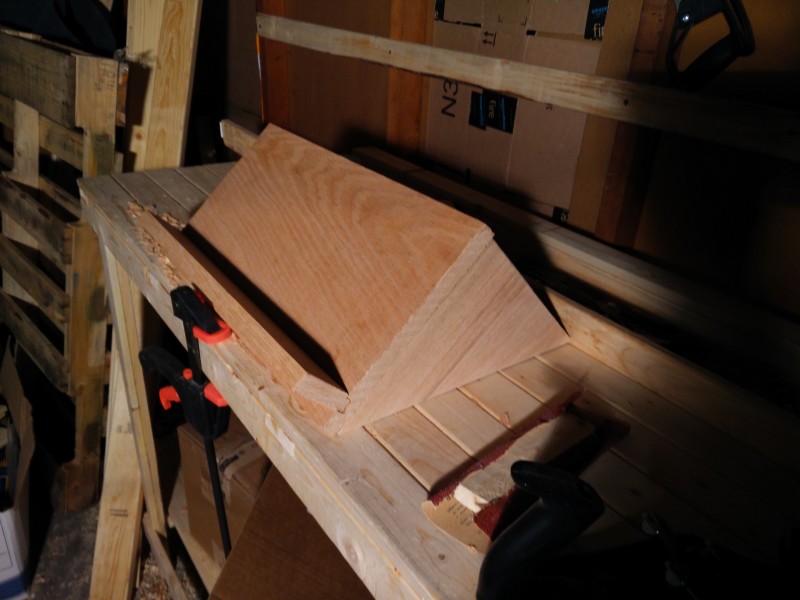
Then, I did a dry fit just to see how everything was looking before I started any detail work.
Engraving
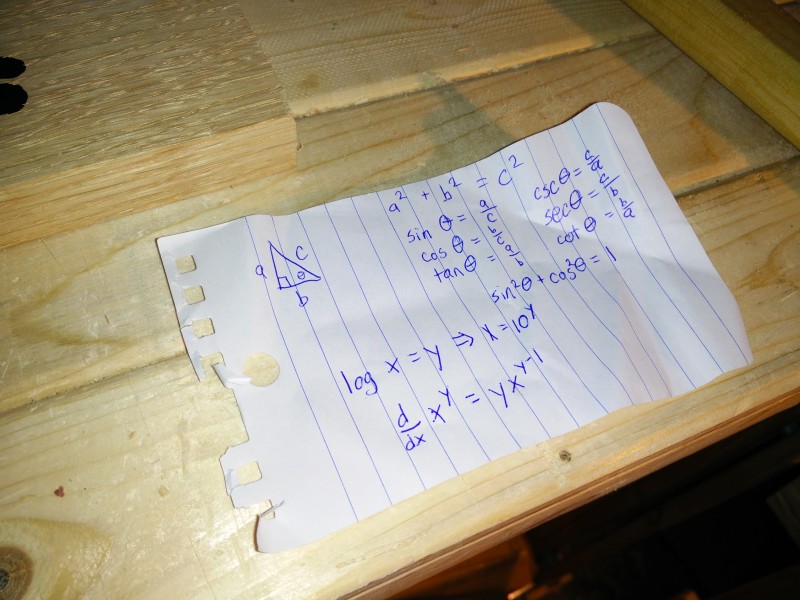
I had originally decided to go a bit ambitious and engrave something in the front of the body. Mom is about to take algebra and geometry, so I had thought to etch the above equations into the body with a rotary tool and fill them with paint. My rotary tool was still at my parents' house, and I didn't want to give her an I.O.U. for Mother's Day.
I initially tried to scratch a message into pine using an awl. After this proved impractical in a wood much softer than the wood of the stand, I thought to use a hammer and chisel. The equations were too difficult to risk messing up the piece.
Rather than completely scraping the idea, I decided I would at least put the date on the back. I tested on a piece of pine.
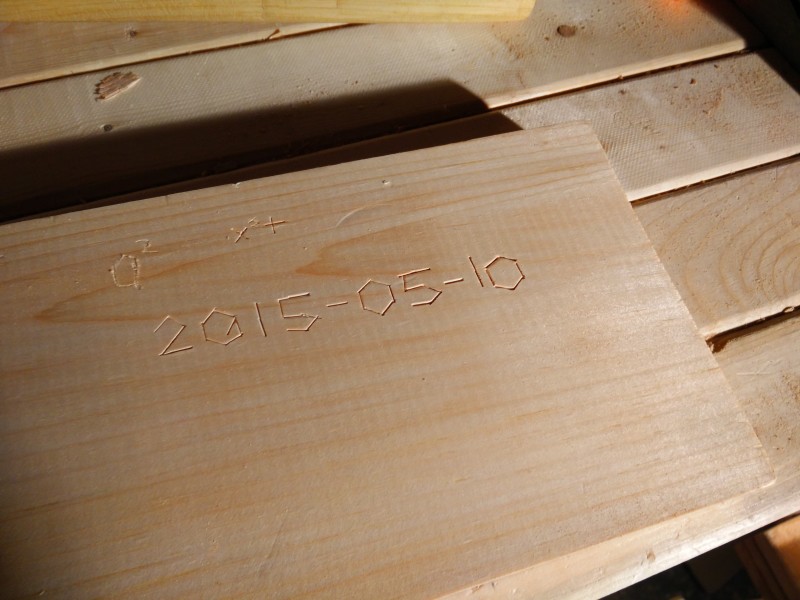
After realizing that no one else in America has to live their life by ISO 6301, I chiselled the date into the oak. This gave me a whole new respect for Roman numerals.

Then, I channelled my inner Bob Ross and painted myself a happy little date.
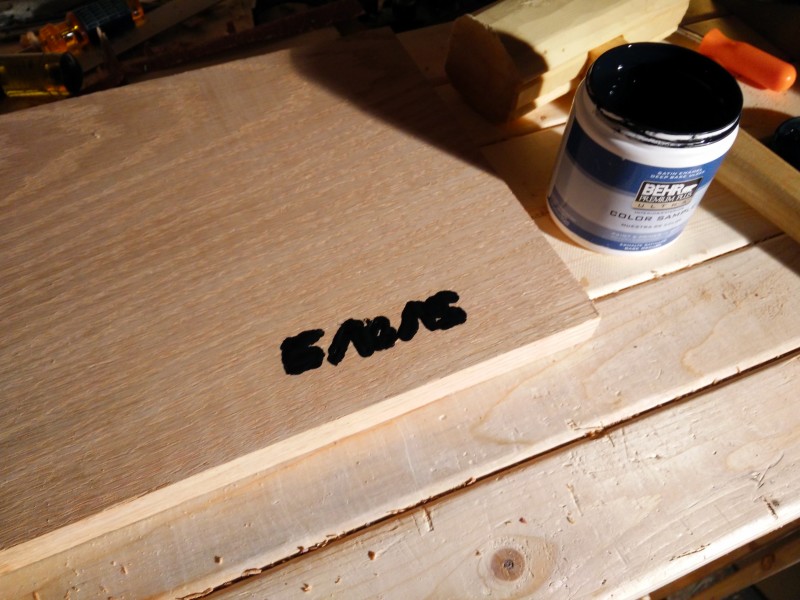
Hopefully, this works.
Assembly
I rounded all the edges that were not part of a glue surface using a smoothing plane for small radii and a chisel for larger round. Then, I sanded everything except the wet paint. It was time to assemble.
At first, I thought to use dowels to help me align the legs and provide mechanical strength. Drilling the hole for the dowel caused a chip to break out and a misaligned leg.
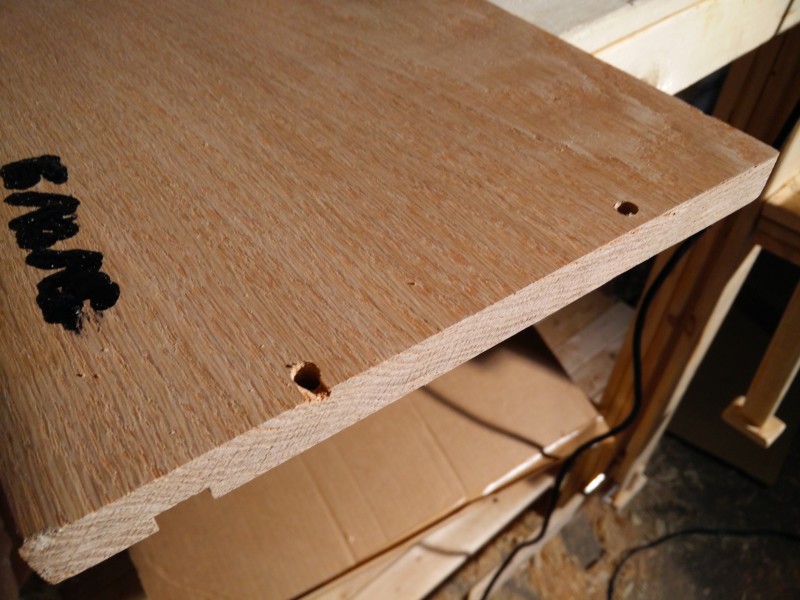
In retrospect, I should have rabbetted recesses to receive the legs. Instead, I opted to remove the dowels and pull the leg flush to the edge by hand. Because I didn't have a clamp long enough, I used a band clamp. I'm very happy with how well it worked.
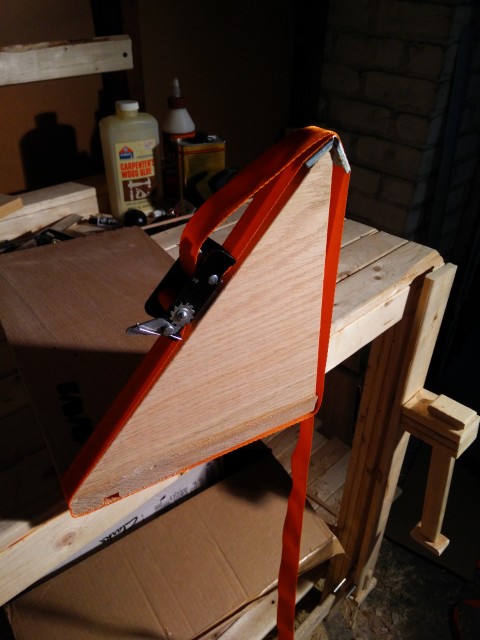
Given the length of the long grain to long grain glue surface and that only half the gravitational force of the textbook would be pushing against it due to the 45° angle, I'm satisfied that joint will last despite not having any mechanical strength. If this stand were going to hold up two or three times the weight it is designed for, I probably would have considered using a sliding dovetail joint.
While I waited for the glue to set, I cut two dowels that would serve as page holders. I chamfered their edges on a sanding block to make them easier to insert in the shelf.
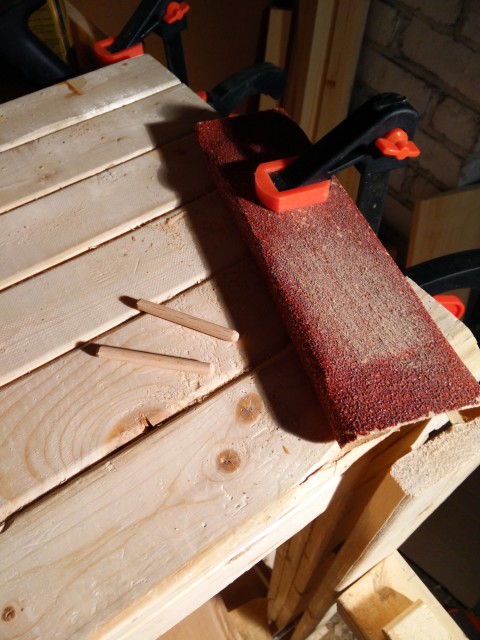
I drilled 1/4-inch holes 1 inch, 3 inches, and 5 inches from either end of the shelf. Blue tape on the drill bit told me where to stop so I wouldn't go all the way through.

Once set, I removed the band clamp and sanded. The now-dry paint. Finally, I clamped the shelf in place and band clamped on the second leg.
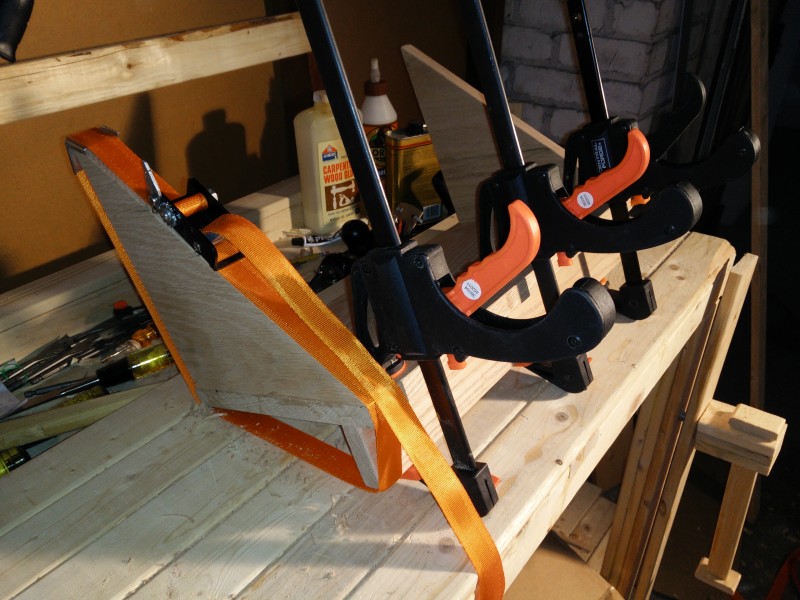
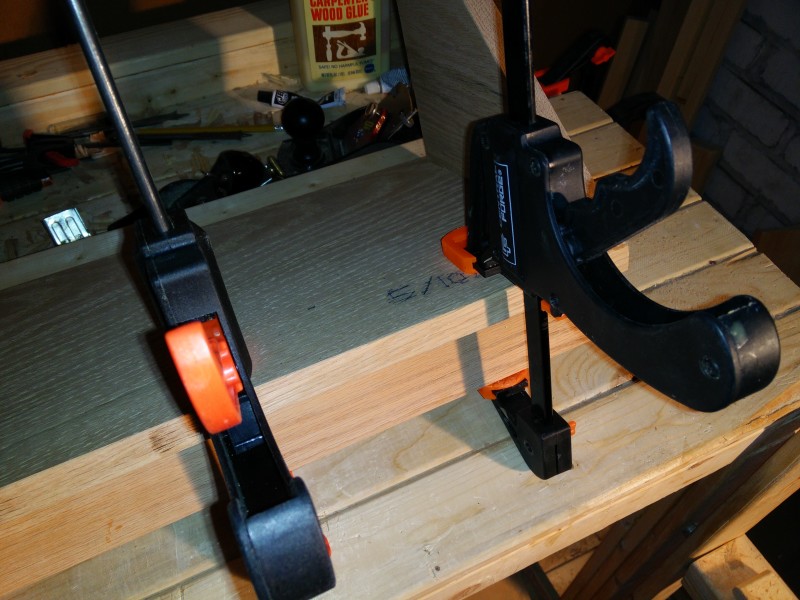
After the glue dried, I removed the clamped and rubbed on two coats of wipe-on polyurethane.
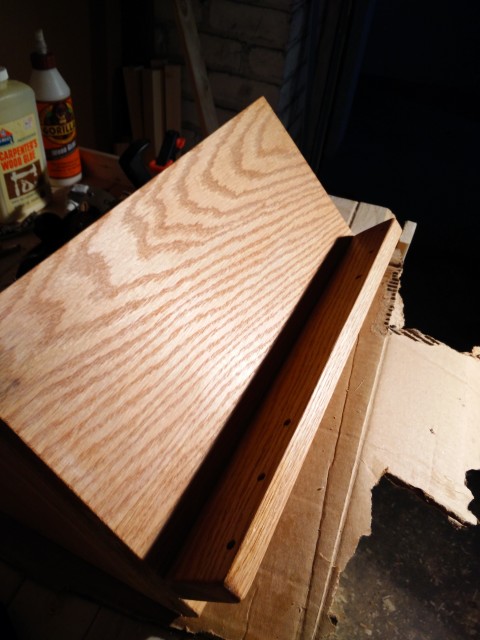
Final Product
Mom loved it. I took a few pictures in my parents' kitchen. The lighting is better, but the quality of my cell phone camera is still lacking.


