Handmade DIY Workbench for $8
We recently moved again, and now I have an 8ft. by 10ft. storage space in the basement of my apartment building. I decided to turn it into a workshop, making both my wife and I happy that I no longer work in the living room.
Lumber Sale
Right before we were hit by a snowstorm in January, I swung by Home Depot and caught a great sale on 1in. by 3in. by 6ft. lumber.
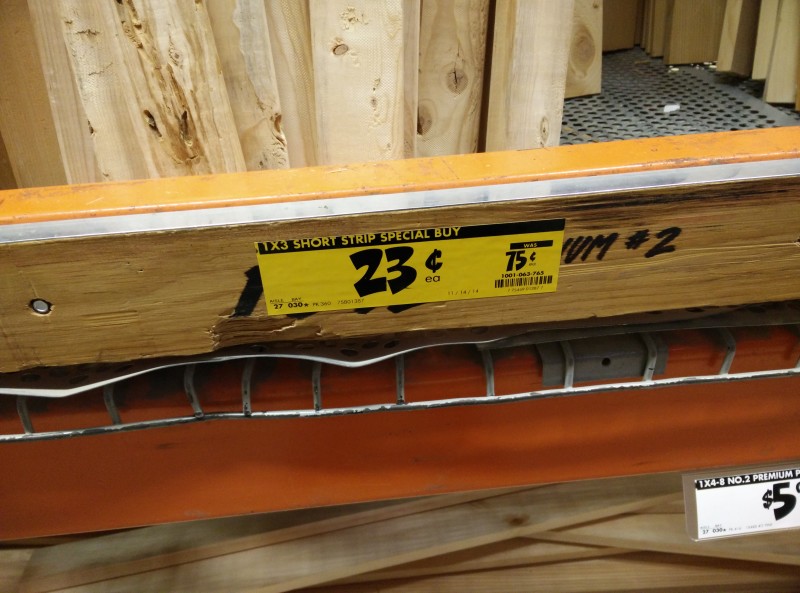
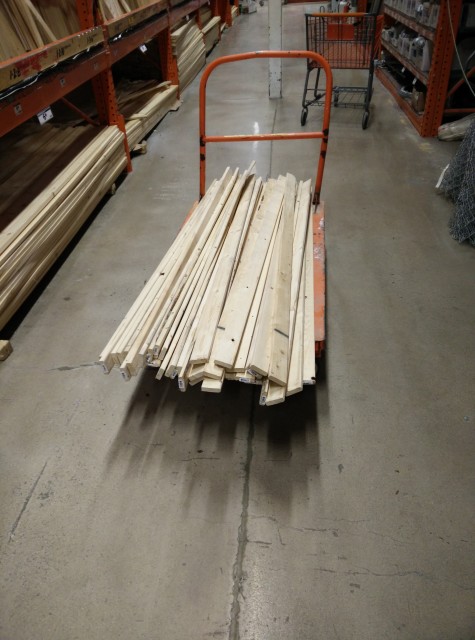
I bought 42.
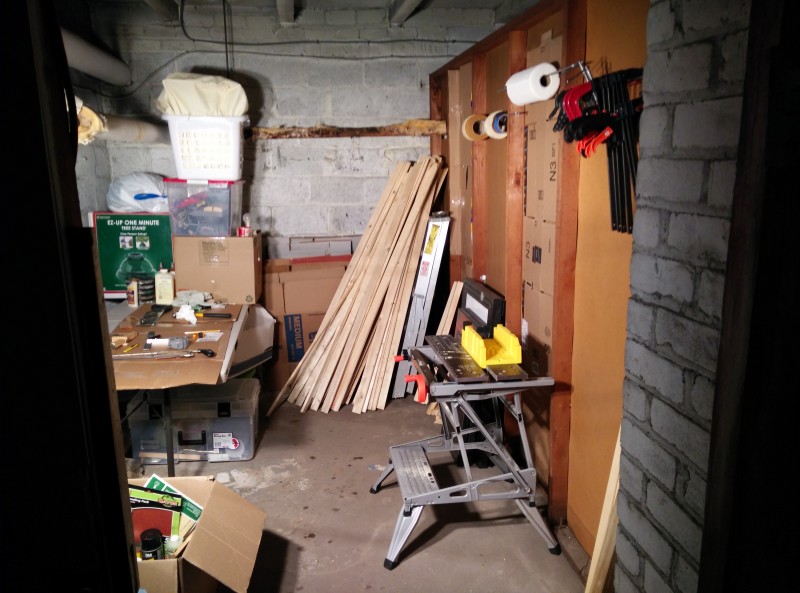
It takes a workshop to build a workshop. I set up a long, cardboard-clad folding table and a Workmate, a pop-up portable work table. All the lumber takes up surprisingly little space when stood on end.
Assembly
It didn't occur to me to create this page while I was building, so all these pictures are actually from sent cell phone messages, meaning they are sparse and blurry.
I cut each board for the top of the workbench into four foot lengths and glued them to runners that I somewhat-arbitrarily spaced at 16in. on center.
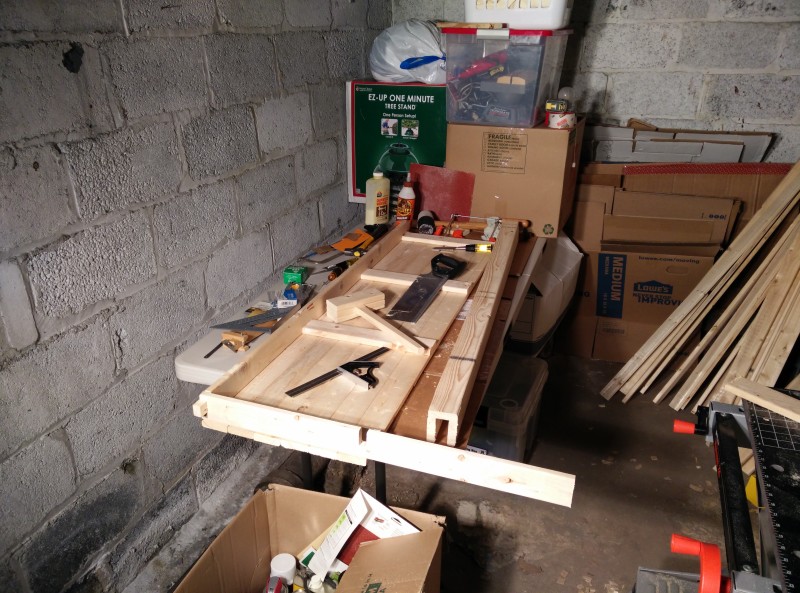
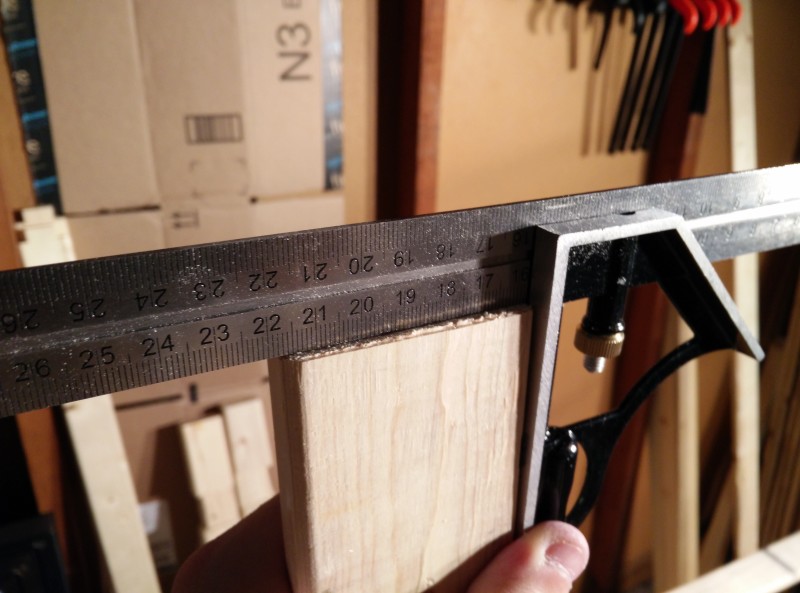
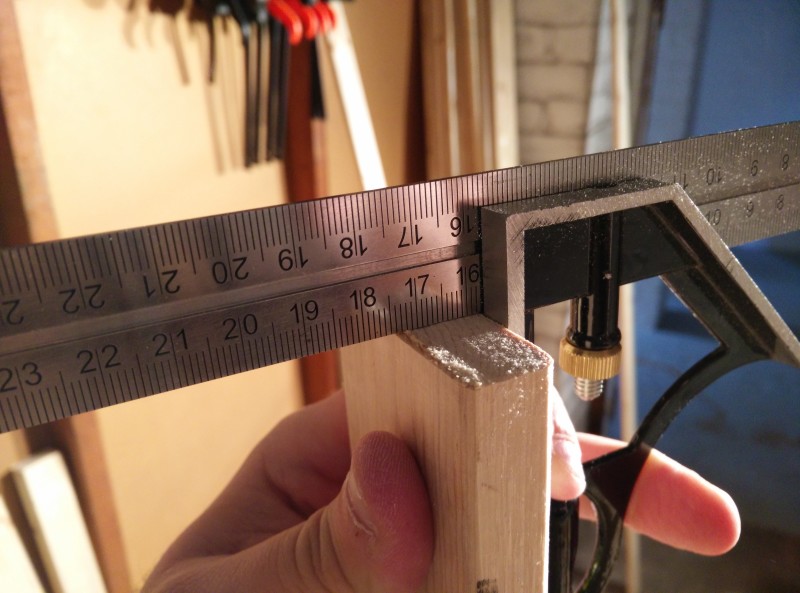
After the first few cuts, I stopped using the miter box. I watched some of Paul Sellers's videos, and I learned the "knife wall" technique: I used a craft knife and a square to score around the board. Then, I used a chisel to cut a little V-groove across the top for my backsaw to sit in. Because this is a shop project and not something that has to look nice, it was ideal for practicing a new technique.
After performing about half the required cuts, I was getting perfectly square cuts unaided and completely by hand.
I opted to create a workbench with a tool well. The well was assembled just like the top, only from the other side. I used a band clamp to glue on the final backing board because I didn't have any other clamps that were large enough.
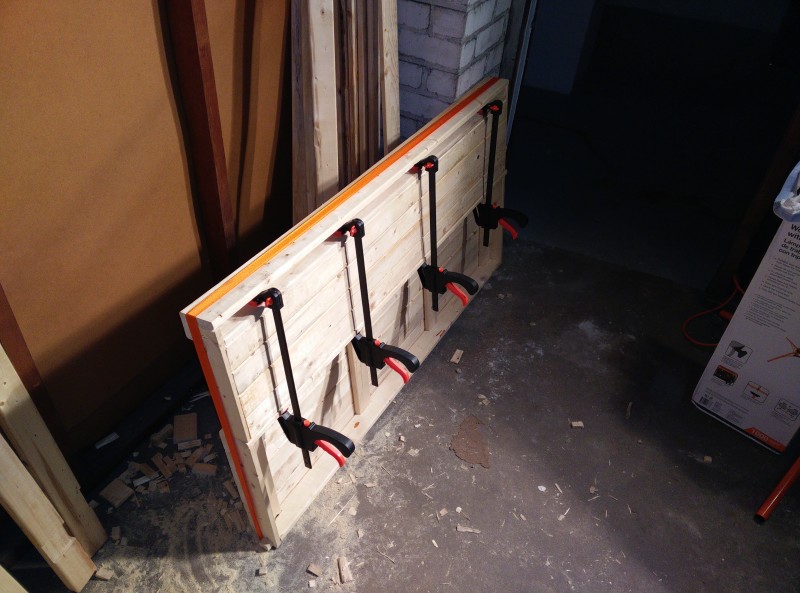
The legs sit in a socket-like slot.

Because the back board was a bit crooked, I straightened the legs by clamping them to the wall. With the bench upside-down, I wedged a board between the ceiling and the front of the workbench to hold the legs in place as the glue dried.
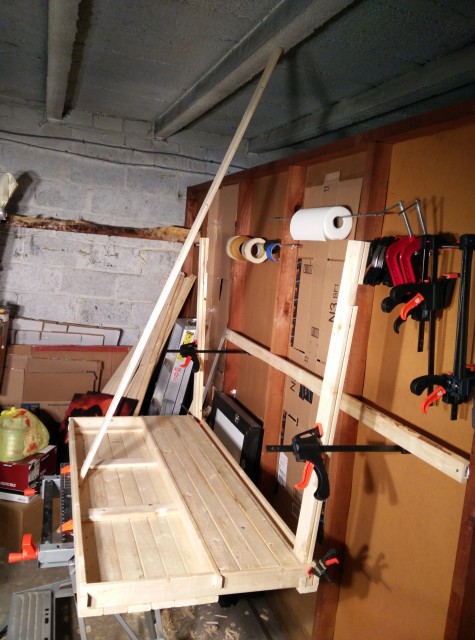
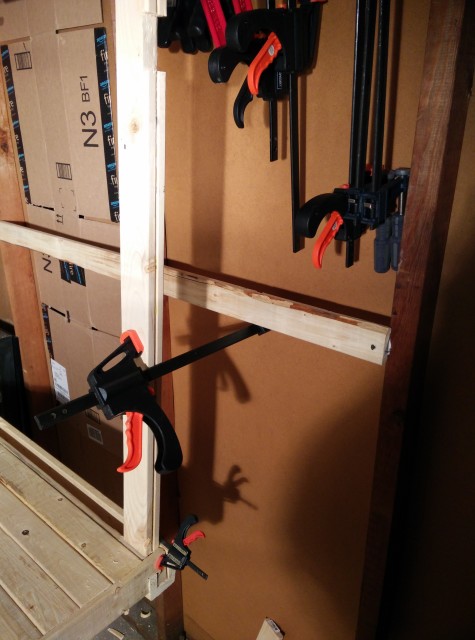
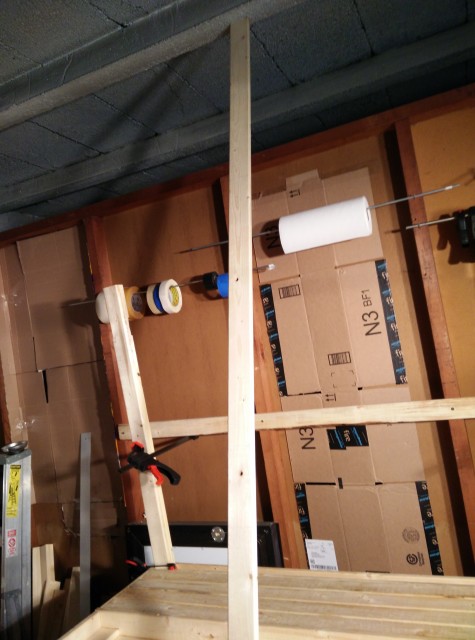
I added stretchers to the bottom of the legs to keep them square and stable.

It took about 28 pieces of 23¢ wood, leaving a ton of two-foot cutoffs for future projects. No fasteners were used, only glue (included in the $8 cost).
Now that I finally have a setup, it's time for me to get back to building things again.
