New Used Workbench
My "shop"/"lab" is small, but I wanted to add a workbench for my projects. Using my computer desk wasn't working when I needed to put larger things together, and it would be nice to not need to rearrange everything when I need to switch between building and using my PC. It's also impossible to switch while glue is drying, which can be irritating. So, while rearranging and cleaning up, I starting putting together a list in my head of what I was looking for.
- The workbench should manage to free up space in the room. If it gets any tighter in here, I won't be able to move to work at all, defeating the workbench's purpose.
- I want to spend as little as possible, but the workbench must be a least somewhat sturdy.
- The workbench needs to be modular so I can take it apart when I need the entire room.
- The workbench must be easy to move around.
- It must be large enough and stable enough to hold a miter saw or router table.
So, after thinking over a couple of designs that I really liked but require a more-permanent home, I built my workbench from a large toolbox, a small set of shelves, and two planks of wood I used for a set of shelves I wanted to take apart anyway.
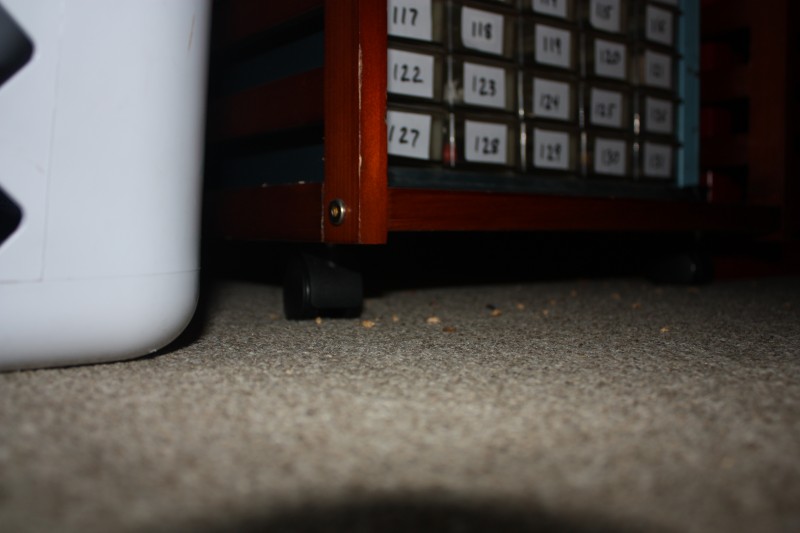
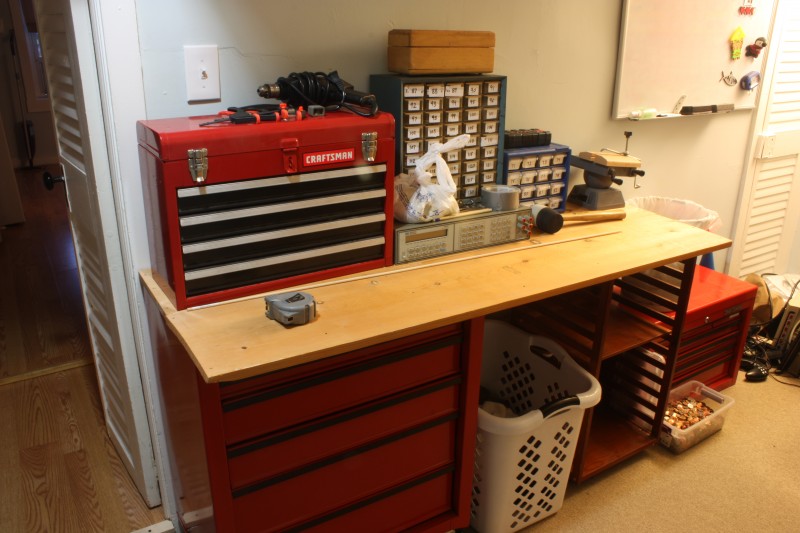
This gave me more space because I was taking apart unnecessary furniture to make it. It cost me nothing to make because all the pieces are already in the room. The top isn't permanently attached, so everything comes apart easily. Everything is on wheels for mobility. The entire surface is 5ft x 22in, more than capable to hold any tool I have.
To secure the planks together, I used dowels and glue. I put a mark every 1ft across the boards so I would know where to drill.
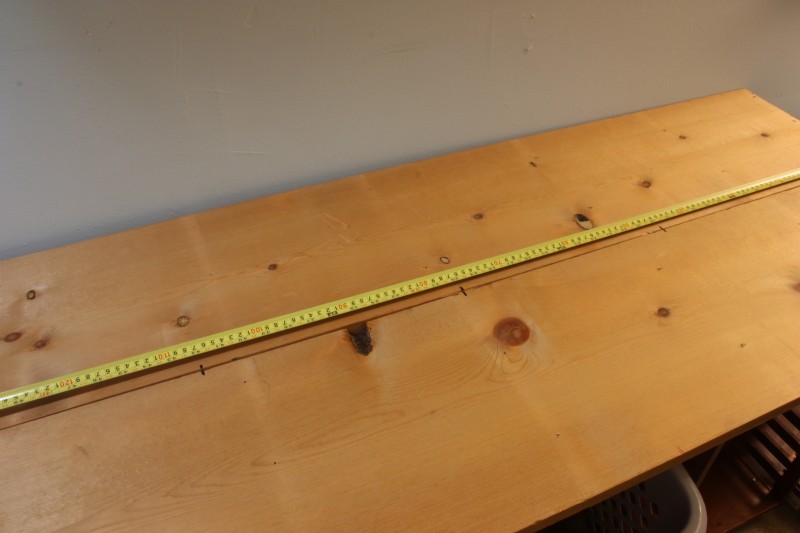
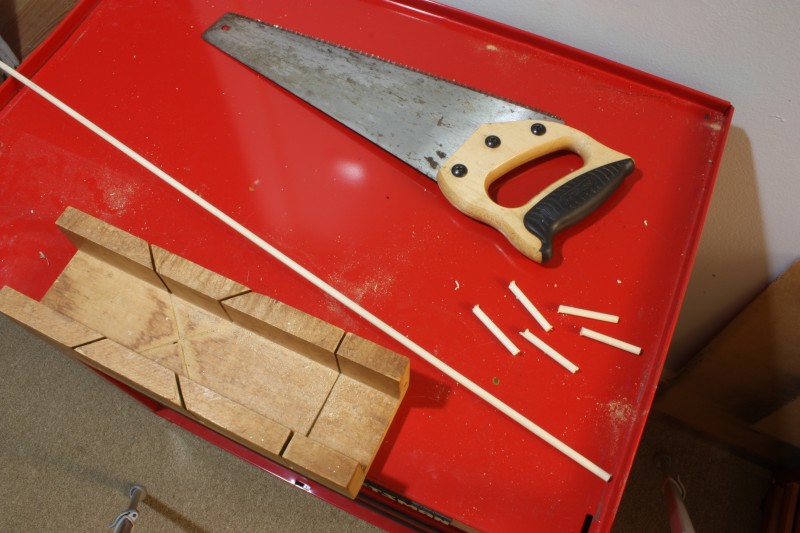
Then, I cut a 3/16in dowel into two inch pieces. After drilling, I cut another set of four inch dowels, but they were too long, and I had to recut them while gluing everything. Next time, I would measure the depth of the holes first.

Then, I glued each dowel and in between the planks themselves. I put plastic wrap under the joint. The glue doesn't stick to the plastic and prevented a huge mess.
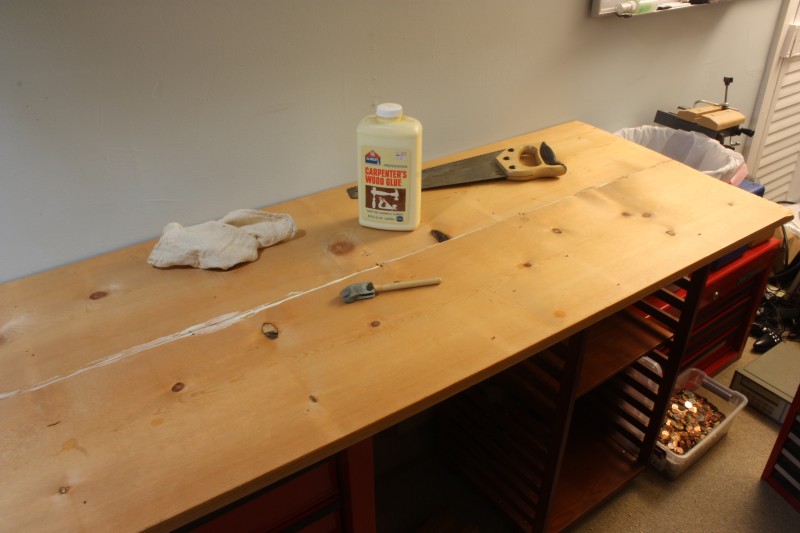
I wanted to strengthen the joint with a few sticks going across the bottom, but I thought of a better idea. By using a piece of 1/4in MDF, I would smooth the surface and there would be a lot more surface area securing everything together. It took about a pint of wood glue to attach a 4ft x 2ft board of MDF.

Toolboxes, spare change, and a power transformer made a great clamp.
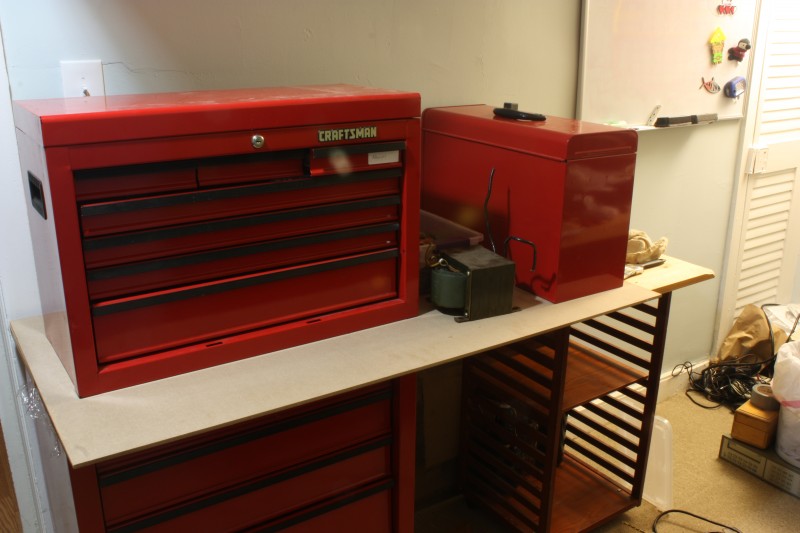
Next time I need to go to the hardware store, I'll pick up another small sheet of MDF to cover the rest of the bench.

